SMART on FHIR Training: How to Learn and Build Apps

You want to build an app that launches inside EPIC or another EHR, and every tutorial you find either skips the OAuth handshake or drowns you in FHIR resource specs before showing a working example. SMART on FHIR training that actually gets you to a running app is harder to find than it should be, given how many health systems now require this standard just to consider your integration.
This guide walks through what you actually need to learn: the SMART launch sequence, scopes and authorization, pulling FHIR resources, and rendering something a clinician can use mid-workflow. If you're searching for a SMART on FHIR tutorial or trying to figure out how to structure a build SMART on FHIR app project from scratch, you'll find the concrete steps here, including where a SMART on FHIR Java example fits if your stack leans that direction.
We also cover where self-built training hits its limits. Teams spend months on OAuth debugging and App Orchard submission before writing a line of clinical logic. Knowing that upfront changes how you plan the project, and how you decide whether to code it yourself or skip straight to deployment.
What you need before starting SMART on FHIR training
Before you open a single tutorial, take stock of what you're bringing to the table. SMART on FHIR training assumes you already know REST APIs, JSON, and basic web authentication concepts. If you've built an integration against any modern SaaS API with OAuth2, you're closer than you think. If your team has spent its career on desktop software or batch file transfers, budget extra time for the web-standards side before you touch FHIR-specific material.
Technical background you should have
You don't need a FHIR certification to start, but you do need working knowledge of a few things. REST and JSON fluency matters most, since every FHIR resource you'll pull is a JSON payload returned from a RESTful endpoint. You also need at least a passing familiarity with OAuth2 authorization code flow, because SMART on FHIR is essentially OAuth2 with healthcare-specific scopes and launch context layered on top. Beyond that, plan on picking up:
- A server-side language your team already uses (Java, Node, Python, or C# all work fine for developing SMART on FHIR apps)
- Basic understanding of clinical data concepts like patient, encounter, observation, and condition resources
- Comfort reading API documentation and OpenAPI/Swagger specs, since EPIC's FHIR docs follow that pattern
If you can debug an OAuth2 redirect loop, you already have most of the skill SMART on FHIR training requires.
Accounts and tools to set up first
Getting your accounts in order before you start saves you from stalling out mid-tutorial waiting on approval emails. Register early, because some of these take a few business days to activate.
| Resource | Where to get it | Why you need it |
|---|---|---|
| EPIC on FHIR developer account | fhir.epic.com | Access to sandbox environments and API documentation |
| SMART Health IT sandbox | Public SMART sandbox | Vendor-neutral testing before touching EPIC specifically |
| Local dev environment | Your machine | Node.js, Java, or Python runtime plus a code editor |
| Postman or Insomnia | Free download | Manually testing FHIR calls before writing app code |
| ngrok or similar tunnel tool | Free tier available | Exposing a local redirect URI during OAuth testing |
Having all five ready before Step 1 means you spend your first coding session actually writing code, not chasing signup confirmations.
Time and team commitment to budget
Most solo developers need three to six weeks of dedicated time to go from zero to a working sandbox app, longer if FHIR and OAuth2 are both new to you. Teams with a dedicated engineer can compress that, but rarely below two weeks for anything beyond a toy demo. Set that expectation with your stakeholders now, because underestimating this timeline is the single biggest reason SMART on FHIR projects stall internally before they ever reach EPIC's App Orchard review.
Also decide upfront who owns compliance. Someone on your team needs to understand HIPAA implications of storing or caching patient data, even in a sandbox, since habits formed in testing carry into production. If nobody on your team has done this before, flag it now rather than after you've built something that needs to be re-architected for a Business Associate Agreement.
Step 1. Learn the FHIR and OAuth2 fundamentals
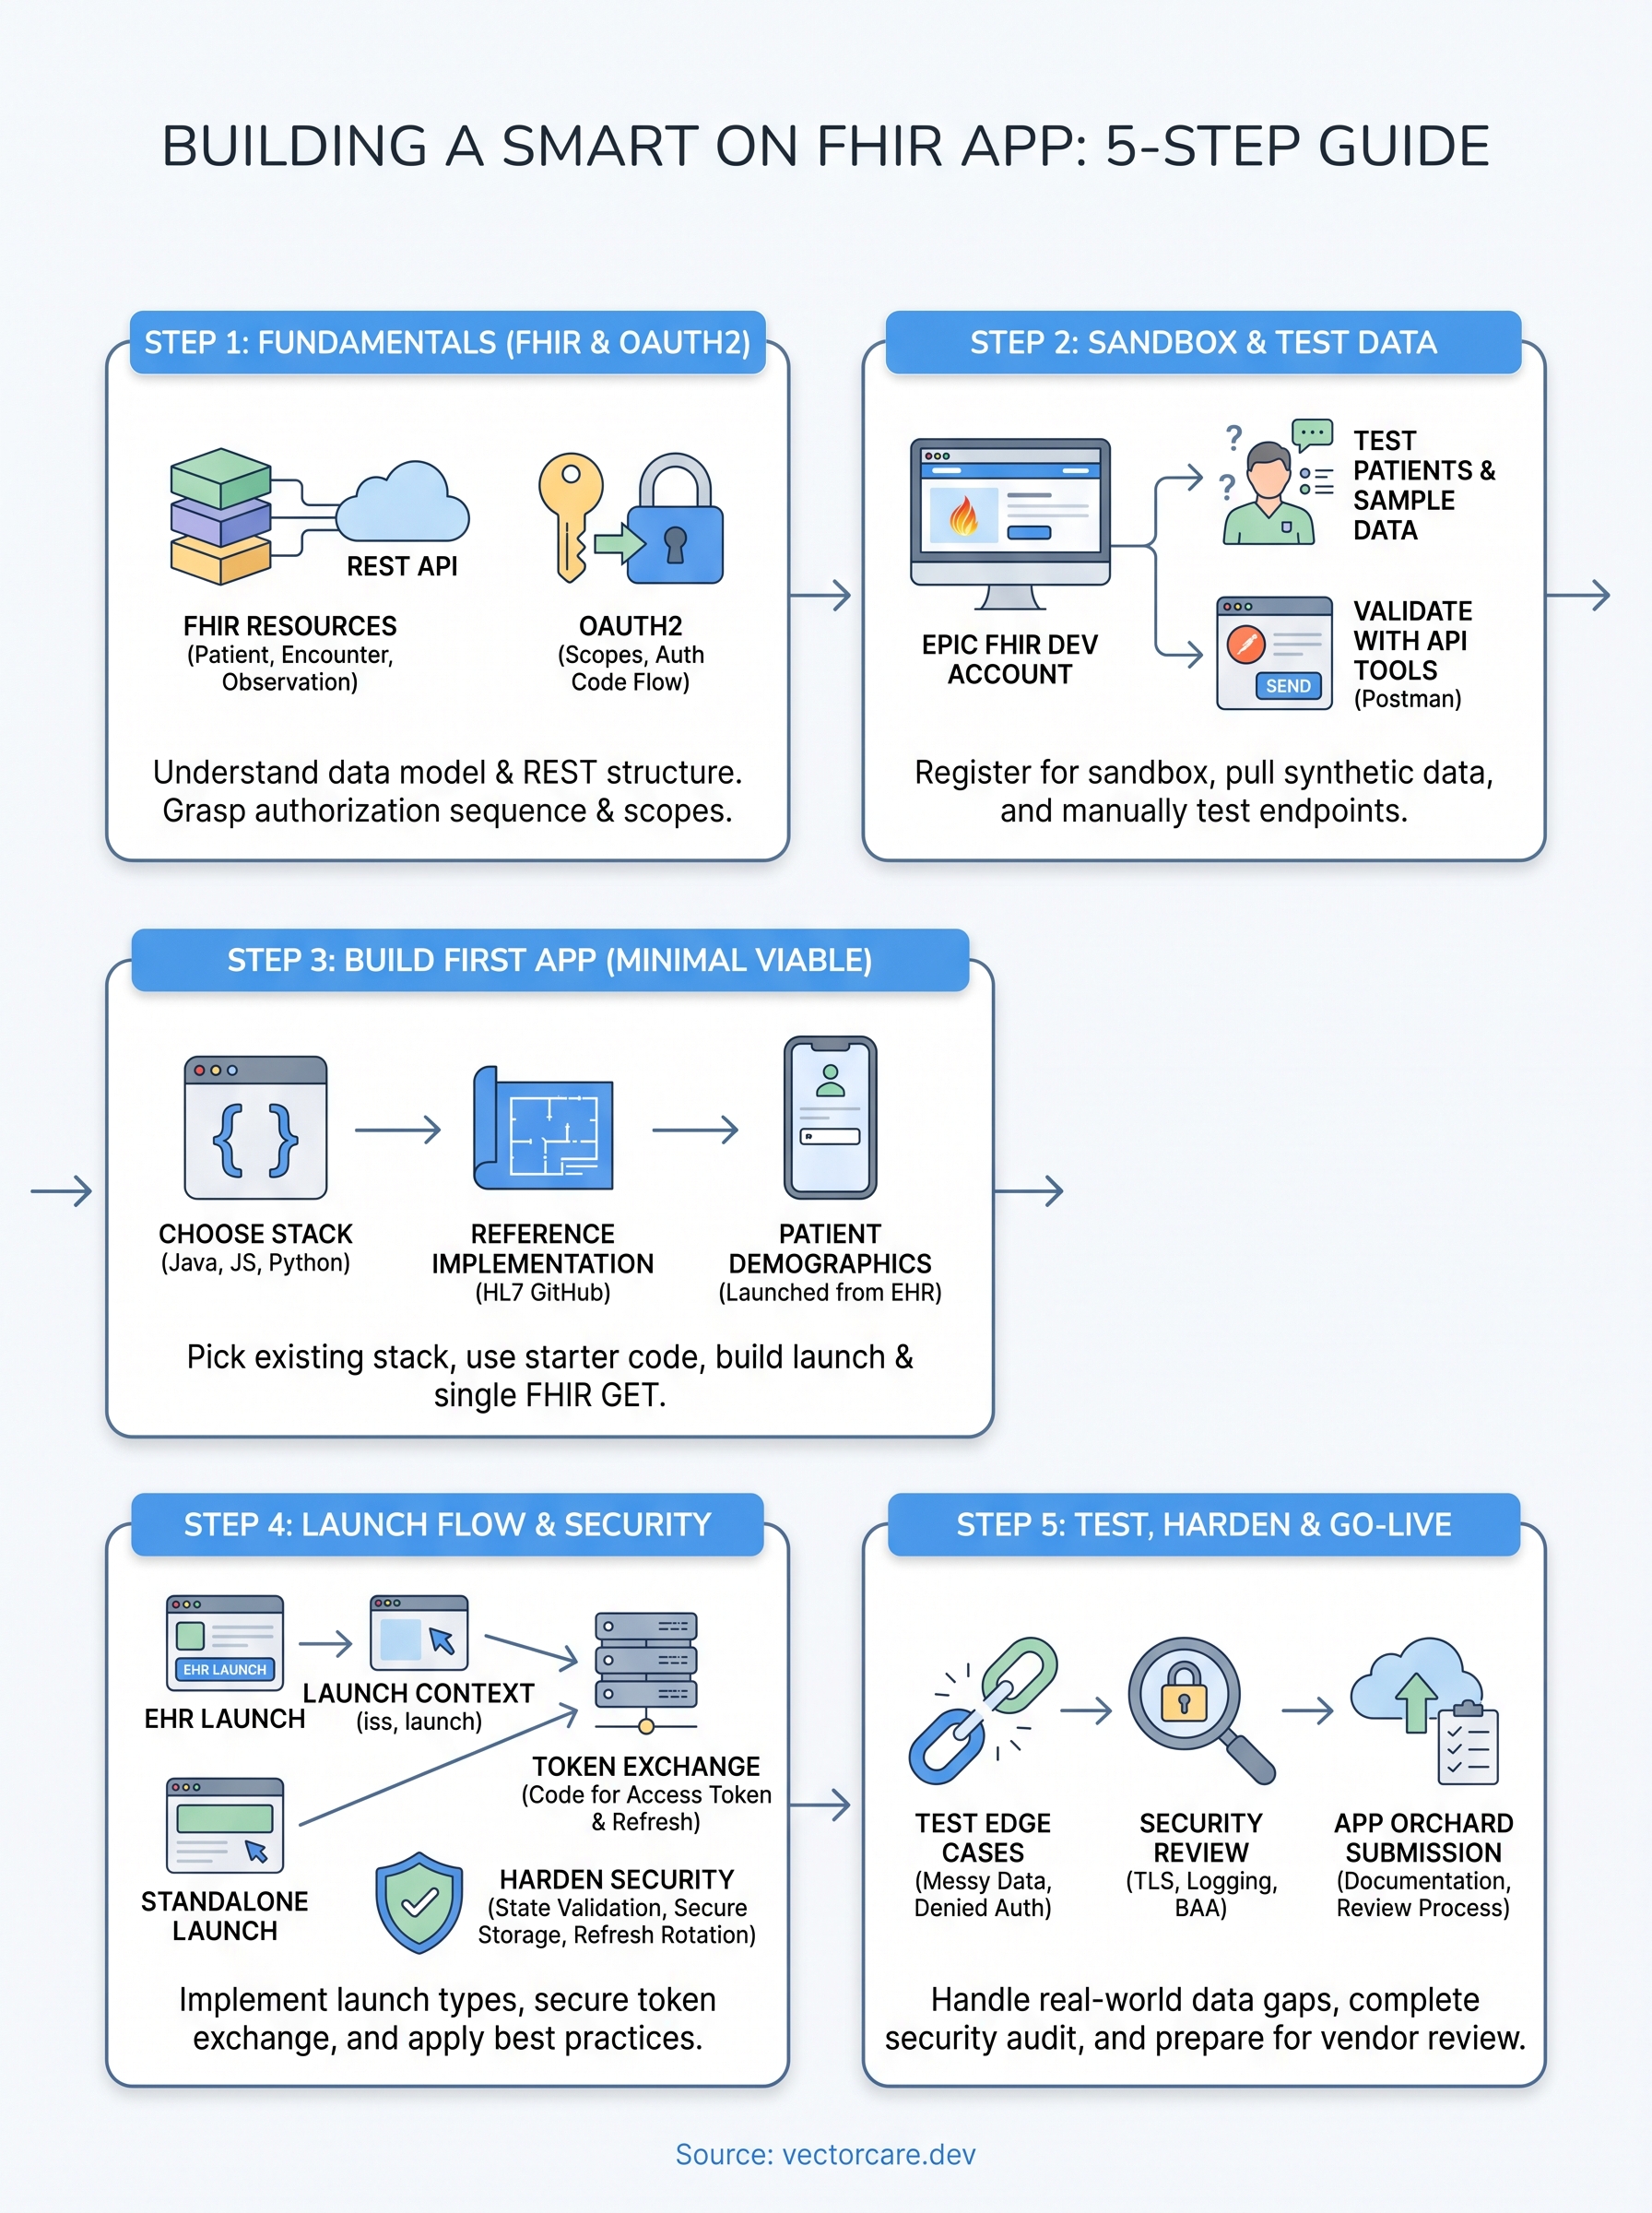
Start here even if you're tempted to jump straight to code. Every SMART on FHIR app is really two systems stacked together: a RESTful API that speaks in clinical resources, and an OAuth2 layer that decides what your app is allowed to see, which is the key to secure EHR integration. Skip either one and you'll spend your first month debugging symptoms instead of understanding causes.
FHIR resources and the RESTful data model
FHIR organizes clinical data into discrete resources, each with a fixed JSON shape and its own REST endpoint. You'll query a Patient resource for demographics, an Encounter for a visit, and an Observation for a vital sign or lab result, all using standard GET requests against a FHIR API like /Patient/{id} or /Observation?patient={id}. HL7's official FHIR specification documents every resource field, so keep it open in a tab while you work. Focus your first pass on the resources most vendor apps actually touch:
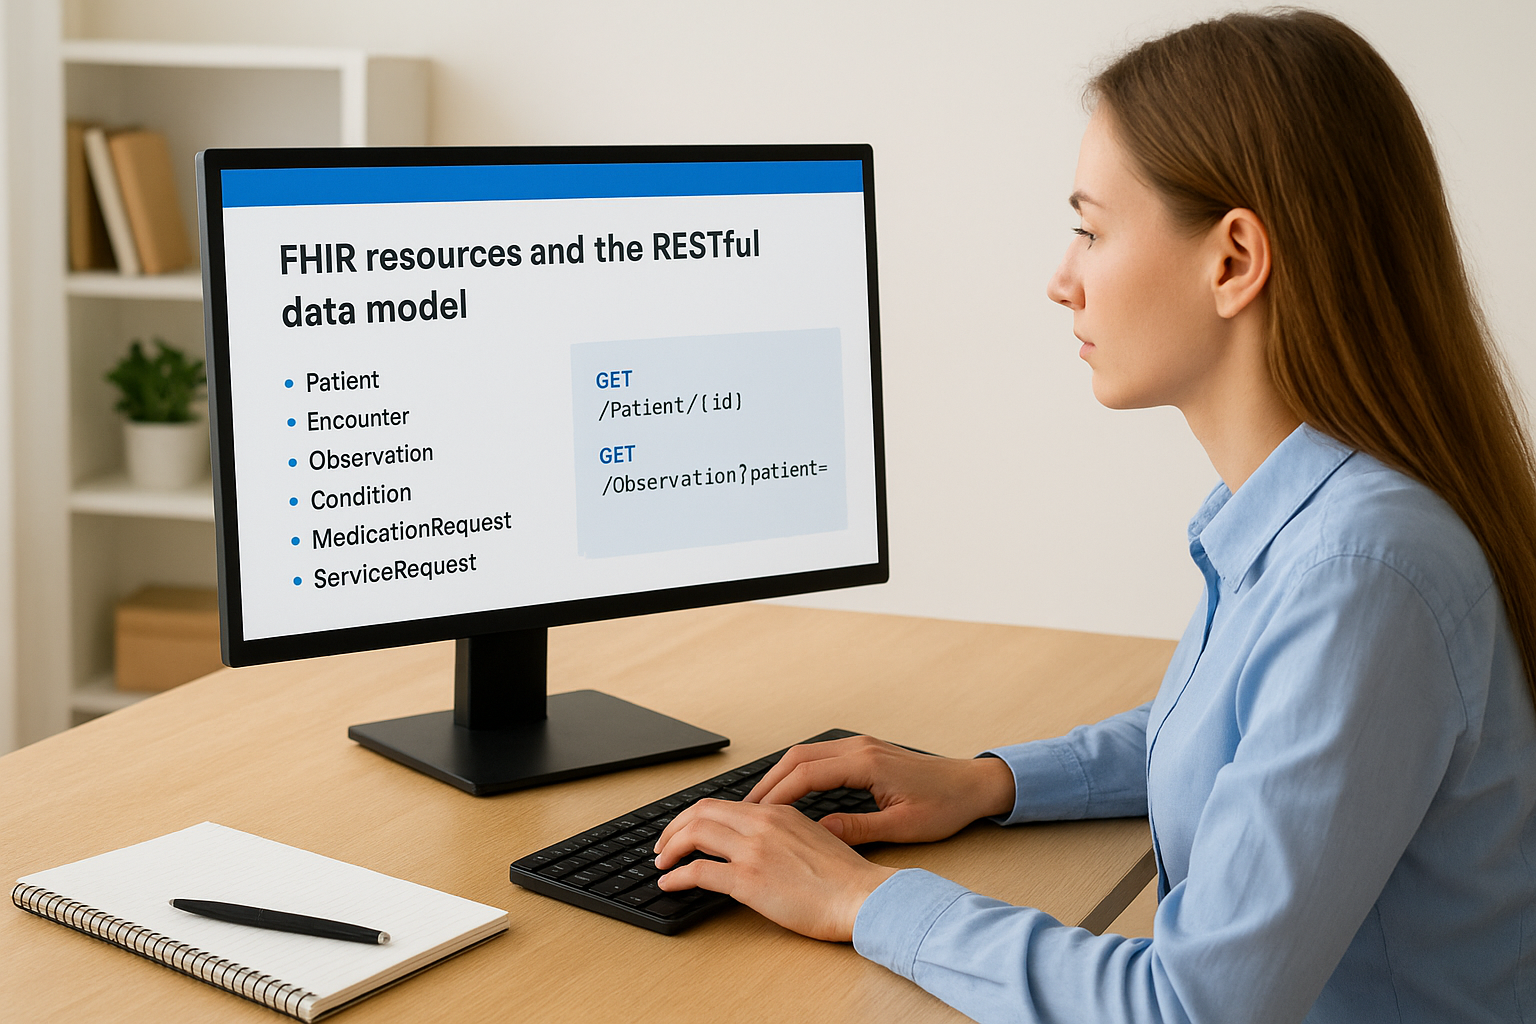
- Patient and Practitioner (identity and demographics)
- Encounter (visit context)
- Observation and Condition (clinical findings)
- MedicationRequest or ServiceRequest, depending on your use case
You don't need to memorize the full resource catalog. Most teams developing SMART on FHIR apps use fewer than ten resource types in production.
OAuth2 and the SMART authorization layer
SMART on FHIR layers healthcare-specific rules on top of standard OAuth2 authorization code flow, so it helps to have how OAuth 2 authorization works in plain English clear in your head first. Your app redirects the user to an authorization server, receives a code, exchanges it for an access token, and uses that token on every subsequent FHIR call. What SMART adds is launch context, meaning the token carries information about which patient and encounter the clinician was viewing when they launched your app, plus scopes that restrict exactly which resources and actions you're permitted to touch.
Get the OAuth2 handshake solid before you write a single line of UI code, because every FHIR call downstream depends on it working correctly.
Read through the SMART App Launch specs, launch flow, and APIs end to end once, even the parts that feel abstract now. It'll save you from misreading scope syntax later, when a malformed patient/Observation.read scope silently breaks your data pull instead of throwing a clear error.
Step 2. Register for a FHIR sandbox and test data
Once you understand the theory, you need somewhere to practice against real (fake) patient data. Skipping this step and jumping straight into code against production-like assumptions is how developers end up rebuilding their entire auth flow three weeks in. A proper sandbox gives you synthetic patients, a working authorization server, and enough test data variety to catch edge cases before EPIC's reviewers do.
Setting up your EPIC on FHIR sandbox
Create a free account at fhir.epic.com and register a new app under your developer profile, using Epic's FHIR documentation to navigate the specs and testing tools as you go. EPIC issues you a client ID immediately for non-production use, which is enough to start building. During registration, you'll specify your app's redirect URI (this is where the ngrok tunnel from Step 0 becomes useful), the FHIR version you're targeting (EPIC currently supports both DSTU2 and R4, so pick FHIR R4 unless a specific health system tells you otherwise), and the scopes your app requests.
A sandbox client ID with the wrong redirect URI will cost you an afternoon of confused debugging, so double-check it before you write any code.
Pulling test patients and sample data
EPIC's sandbox comes preloaded with synthetic patients you can query immediately. Grab a few patient IDs from EPIC's published test patient list and confirm you can pull their records through Postman before you write any application code. This isolates FHIR connectivity problems from OAuth problems, which matters because debugging both at once is miserable.
A typical first-session checklist looks like this:
- Confirm your client ID and secret are active in the EPIC developer portal
- Verify your redirect URI matches exactly, including trailing slashes
- Query
/Patient/{testId}manually with a hardcoded bearer token from the sandbox docs - Confirm the JSON response matches the resource shape from the FHIR spec
- Repeat with an
ObservationorConditionquery tied to that same patient
Why the vendor-neutral SMART sandbox still matters
Don't skip the public SMART Health IT sandbox just because you've got EPIC access. It's useful for isolating whether a bug is EPIC-specific or a genuine SMART on FHIR implementation error on your end. Vendors building for multiple EHRs eventually need both anyway, so establishing the habit now saves you from re-learning sandbox setup later when a second health system contract requires it.
Step 3. Build your first SMART on FHIR app
With your sandbox live and test patients confirmed, it's time to write actual application code. Start small: a single-page app that launches, authenticates, and displays one patient's demographics is a real milestone, not a toy. Building a medical app from scratch feels intimidating until you realize the first version only needs three things working: a launch endpoint, a token exchange, and one FHIR GET request rendered on screen.
Choosing your stack and starter template
Pick the language your team already knows rather than the one every blog post uses. SMART's client libraries exist for JavaScript, Python, and Java, and none of them has a meaningful advantage for a first build. Grab a SMART App Launch reference implementation from HL7's GitHub to see a working example before you write your own, since reading a correct implementation saves hours compared to debugging a broken one from scratch.
A minimal SMART on FHIR Java example
If your stack leans Java, a Spring Boot controller handling the launch redirect looks roughly like this:
@GetMapping("/launch")
public RedirectView launch(@RequestParam String iss, @RequestParam String launch) {
    String authUrl = iss + "/oauth2/authorize"
        + "?response_type=code"
        + "&client_id=" + CLIENT_ID
        + "&redirect_uri=" + REDIRECT_URI
        + "&launch=" + launch
        + "&scope=launch patient/Patient.read"
        + "&state=" + generateState()
        + "&aud=" + iss;
    return new RedirectView(authUrl);
}
This handles only the redirect half. You still need a callback endpoint that exchanges the returned code for a token, but this snippet gets you past the point where most tutorials wave their hands.
A working launch endpoint that redirects correctly is worth more than a hundred pages of FHIR resource documentation you haven't used yet.
Rendering data inside the EHR window
Once your token exchange returns an access token, use it to call /Patient/{id} and print the response, even as raw JSON, before you build any UI polish. Getting a real name and birthdate on screen, launched from inside EPIC's test environment, confirms every piece of the chain works together. Save UI templates and workflow logic for after this connection is solid, since debugging a broken auth flow underneath a polished interface wastes far more time than building the interface second.
Step 4. Implement the SMART authorization launch flow
Your Step 3 code handled the redirect, but a real SMART authorization launch flow needs the full round trip: launch context, token exchange, and secure state handling. This is where most self-taught developers get stuck, because the spec describes two distinct launch types and conflating them produces bugs that only show up inside EPIC's actual environment, not your sandbox.
EHR launch versus standalone launch
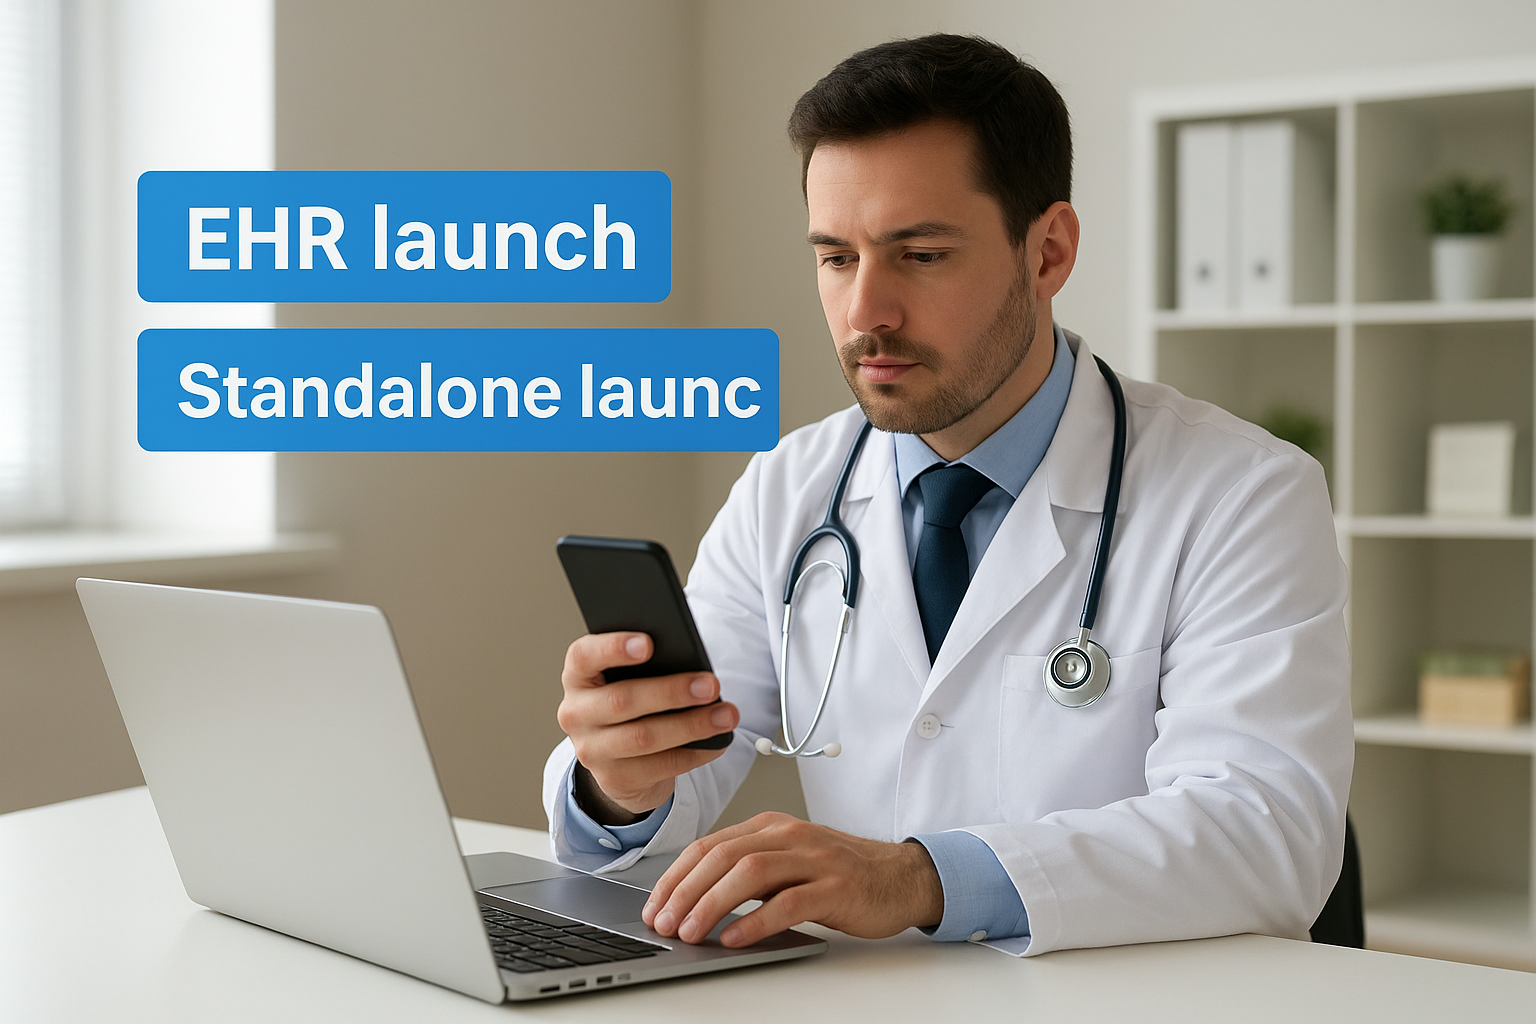
An EHR launch happens when a clinician clicks your app from inside EPIC, which passes a launch parameter and an iss value identifying the FHIR server. A standalone launch happens when your app opens outside the EHR and has to discover the FHIR server and initiate authorization itself. Build for EHR launch first since that's how most health systems will actually use your app, then add standalone support only if your use case requires it.
Completing the token exchange
Once EPIC redirects back to your callback with an authorization code, exchange it for an access token before doing anything else. Always validate the returned state parameter against what you sent, since skipping this check opens your app to cross-site request forgery.
POST /oauth2/token
Content-Type: application/x-www-form-urlencoded

grant_type=authorization_code
&code={authCode}
&redirect_uri={REDIRECT_URI}
&client_id={CLIENT_ID}
The response includes your access token plus a patient field identifying which patient record the launch context applies to. Store that patient ID; every subsequent FHIR call in this session depends on it.
Skipping state validation is the single most common way developers accidentally build a SMART on FHIR app with an exploitable auth flow.
Scopes, refresh tokens, and how to improve the SMART on FHIR security posture
Request only the scopes your app actually uses, since EPIC reviewers flag over-broad scope requests during App Orchard submission. If your app needs longer sessions, request offline_access and implement refresh token rotation rather than re-prompting the user constantly. A few habits, drawn straight from OpenID Connect best practices for safer auth, meaningfully improve your SMART on FHIR security posture:
- Store tokens server-side, never in browser local storage
- Set short access token lifetimes and rely on refresh tokens for continuity
- Log every token exchange for audit purposes, since HIPAA compliance reviews will ask for this
Get this layer right now, because retrofitting token security after go-live is far more expensive than building it correctly the first time.
Step 5. Test, harden, and prepare your app for go-live
Your app works against sandbox data, but go-live testing demands a different level of rigor than anything covered in typical SMART on FHIR training. Health systems run compliance and security reviews before granting production access, and if you're mapping out the path from sandbox app to a listed Epic integration, EPIC's App Orchard reviewers will reject submissions that skip obvious edge cases. Treat this step as the difference between a demo and a shippable product.
Testing against edge cases
Real patient charts are messier than sandbox data. Test your app against patients with missing fields, multiple active encounters, and observations with unusual units, since these gaps are exactly what crash apps during pilot deployments at actual health systems. Also confirm your app handles a denied authorization gracefully, since users will occasionally decline scopes or close the launch window mid-flow.
Security hardening before go-live
Beyond the token-handling habits from Step 4, run a full security pass before you submit anything. Confirm every request uses TLS, verify your redirect URI allowlist has no wildcards, and rotate any client secrets that touched a developer's local machine during early testing.
- Penetration test your callback endpoint for injection and CSRF vulnerabilities
- Confirm logs never capture full patient names or identifiers in plaintext
- Verify session timeouts match your organization's HIPAA policy
- Document your Business Associate Agreement status before requesting production credentials
An app that passes functional tests but fails a security review never reaches a real clinician's screen.
Submitting to EPIC's App Orchard
Once hardening is done, package your documentation for submission. Epic's App Orchard and Showroom reviewers want a clear description of the resources you access, the scopes you request, and evidence that your app respects launch context correctly. Expect several rounds of feedback even from a well-built app, since reviewers flag anything ambiguous rather than assume good intent. Budget real calendar time here. Submission review alone commonly adds two to four weeks beyond your development timeline, on top of everything you've already spent building and testing the app itself.
Turning your training into a production-ready EHR app
Everything covered here gets you a working sandbox app: launch flow, token exchange, FHIR calls, and a security posture that survives review. That's real progress, and most developers who follow these five steps end up with something functional in a few weeks. But sandbox success and App Orchard approval are different milestones, and the gap between them is where most self-taught timelines blow up, often stretching a projected six weeks into six months of scope revisions and reviewer feedback.
If your team would rather skip that gap entirely, that's exactly what a managed platform solves. Instead of spending months on OAuth debugging and submission cycles, you configure your workflow visually and launch in weeks with compliance already handled. When you're ready to move past training and into a real health system contract, build and deploy your SMART on FHIR app in days with VectorCare and skip straight to deployment.
The Future of Patient Logistics
Exploring the future of all things related to patient logistics, technology and how AI is going to re-shape the way we deliver care.
Thank you! Your submission has been received!
Oops! Something went wrong while submitting the form.