How to Use Epic's FHIR API: A Step-by-Step Guide

You want to pull patient data out of Epic, or push data back into it, and every path forward seems to run through documentation that assumes you already know OAuth, FHIR resources, and Epic's quirks. Working with the fhir api epic exposes is not hard because the standard is broken. It's hard because Epic layers its own registration process, sandbox rules, and app review requirements on top of the SMART on FHIR spec, and missing a step costs you weeks.
This guide walks through the actual mechanics of epic smart on fhir integration: registering your app, choosing the right authentication flow, requesting scopes, and calling FHIR endpoints against Epic's sandbox before you ever touch production data. You'll see where teams typically get stuck, from token refresh issues to launch context errors.
We wrote this from the vendor side, having watched healthcare companies burn months building epic fhir integration by hand before ever reaching the App Orchard listing stage, and there are real reasons Epic integration drags on. If you'd rather skip the engineering lift entirely, VectorCare's no-code platform handles this exact workflow for you. But if you're building it yourself, this tutorial gives you the steps in order, without the guesswork.
What you need before integrating with Epic's FHIR API
Before you write a single line of integration code, get your account, your compliance paperwork, and your technical scope lined up. Skipping this groundwork is the number one reason teams stall out for weeks once they hit Epic's App Orchard review. Treat this section as your pre-flight checklist, not an optional formality.
Create an Epic on FHIR developer account
Everything starts at fhir.epic.com, Epic's developer portal and home of the Epic FHIR API documentation you'll use to build epic api fhir integrations. You'll create a free account, which gives you access to the sandbox, sample patient data, and the App Orchard registration tools. This account is separate from any credentials a health system customer might give you later, so don't confuse sandbox access with production access. The portal also hosts Epic's own FHIR resource documentation, which you'll reference constantly once you start mapping data fields.
Your sandbox account is free and instant, but production access always runs through a health system's own approval process.
Know your FHIR version and resource scope
Epic supports multiple FHIR versions depending on the health system's EHR build, so confirm early whether you're targeting DSTU2, STU3, or R4. Most new integrations should target R4, since it's Epic's current standard and the version most health systems are migrating toward. Next, map out exactly which FHIR resources your app actually needs, using a FHIR resource reference as your guide. Pulling more data than necessary slows down your app review and raises red flags with security teams at the health systems you'll eventually pitch.
Common resource types vendors request include:
- Patient (demographics, identifiers)
- Observation (vitals, lab results)
- Condition (diagnoses, problem lists)
- MedicationRequest (prescriptions, orders)
- Encounter (visit and admission data)
- DocumentReference (clinical notes, attachments)
Write down the specific fields inside each resource you'll pull, not just the resource name. This list becomes your scope request during App Orchard registration in Step 2.
Line up your compliance and security posture
Health systems won't even consider your app without proof you can handle protected health information responsibly. Before you register, you need a HIPAA compliance program in place that meets the HIPAA privacy and security requirements, including a signed Business Associate Agreement template ready to send to prospective health system customers. You'll also need to document your security practices, since Epic's App Orchard review and most health system IT security teams will ask for evidence of encryption at rest and in transit, access controls, and incident response procedures. If you don't have a SOC 2 report yet, expect health systems to ask about your timeline for getting one.
Technical infrastructure checklist
You also need basic infrastructure decisions made before you touch the sandbox. Here's what to have ready:
| Requirement | Why it matters |
|---|---|
| Registered redirect URI (HTTPS) | Required for OAuth 2.0 authorization code flow |
| Public/private key pair | Needed for backend services (system-level) authentication |
| Hosting environment | Must support HTTPS and handle token storage securely |
| Logging and monitoring setup | Required to detect and respond to access issues |
| Defined launch context (EHR launch vs. standalone) | Determines your OAuth flow and scope requests |
Getting these decisions locked in now saves you from re-registering your app or re-requesting scopes later, both of which reset review clocks with Epic and with individual health systems. Once you've got your account, your resource list, and your compliance basics sorted, you're ready to actually start building against the sandbox.
Step 1. Explore Epic's FHIR sandbox
Once your developer account is active, head straight into Epic's sandbox before you write any production-bound code, the same discipline you'd use in any SMART on FHIR test sandbox. The sandbox gives you a synthetic patient population with realistic demographics, lab results, and encounter histories, so you can test queries against the same fhir api epic exposes in production without touching real patient records. Every endpoint, resource structure, and error response you'll see in the sandbox mirrors what a live health system instance returns, which makes this the safest place to work out bugs.
Pull a test patient record
Start with a simple read request against the Patient resource using one of Epic's published sandbox patient IDs. A basic call looks like this:
GET https://fhir.epic.com/interconnect-fhir-oauth/api/FHIR/R4/Patient/erXuFYUfucBZaryVksYEcMg3
Authorization: Bearer {access_token}
Accept: application/fhir+json
Run this before building anything else. If you can't retrieve a sandbox patient cleanly, you have an authentication problem to fix before you move to more complex resources like Observation or MedicationRequest.
If your sandbox Patient call fails, stop building. Fix authentication before you touch any other resource.
Map sandbox responses to your workflow
After a successful pull, compare the returned JSON structure against the fields your app actually needs. This is where epic smart on fhir integrations often go sideways: vendors assume a field exists in a predictable spot, then discover Epic nests it differently than the base FHIR spec suggests. Document every field path you'll rely on now, while you have sandbox data in front of you, rather than during a production debugging session weeks from now.
Know what the sandbox won't tell you
Understand that sandbox behavior isn't a perfect stand-in for production. Health systems configure their own Epic builds differently, which means:
- Custom fields and extensions vary by health system
- Some resources available in sandbox may be disabled at a given site
- Response times in production can differ significantly from sandbox performance
- Launch context behavior may differ between EHR launch and standalone launch in live environments
Treat the sandbox as proof of concept, not proof of production readiness. Spend real time here anyway. Every hour testing against sandbox data saves you a support ticket once you're live with an actual health system.
Step 2. Register your app in Epic App Orchard
With your sandbox testing underway, move on to registering your application in the Epic App Orchard. This is Epic's marketplace and review pipeline for third-party apps, and it's a separate process from your fhir.epic.com developer account. Registration is where you formally declare your app's purpose, request specific FHIR scopes, and set the launch context health systems will use to find and approve you. Skipping ahead to production without a proper App Orchard listing isn't an option Epic allows, so treat this step as mandatory infrastructure, not paperwork you can defer.
Choose your app type and launch context
Epic asks you to declare whether your app uses standalone launch (a user opens your app independently and authenticates separately) or EHR launch (your app opens from inside a clinician's Epic session with context already passed in). Most vendor apps embedding into clinical workflows, like referral tools or remote patient monitoring dashboards, use EHR launch. Pick this correctly now, because it determines which OAuth flow you'll build in Step 3 and which scopes Epic will let you request.
Get your launch context wrong at registration, and you'll rebuild your authentication flow from scratch later.
Fill out the App Orchard listing details
Your listing needs more than a name and description. Epic reviewers and health system IT teams evaluate:
- App name and vendor information, including your company's legal entity
- FHIR scopes requested, matched exactly to the resource list you built in Step 1
- Redirect URI for OAuth callbacks
- Security and compliance attestations, including your HIPAA program status
- Use case description, written clearly enough for a non-technical hospital administrator to understand
Be specific here. Vague scope requests or generic use case descriptions are the most common reason epic app orchard smart on fhir submissions bounce back for revision.
Submit and expect a review cycle
Once submitted, Epic reviews your application for technical completeness and security posture before granting sandbox-to-production progression rights, which is the heart of what the Epic listing process involves. This review isn't instant, expect it to take days to a few weeks depending on your scope complexity and how clean your submission is. Incomplete scope justifications or missing compliance documentation are the two things that slow this down most. Prepare your compliance answers before you submit, not while you're waiting on a reviewer's follow-up email, since every round trip adds days back onto your timeline.
Step 3. Authenticate with SMART on FHIR and OAuth 2.0
Authentication is where most smart on fhir epic integrations either click into place or fall apart for weeks, since SMART on FHIR's secure EHR integration model rests entirely on it. Epic supports two of the OAuth 2.0 grant flows, and picking the wrong one for your launch context means rebuilding your entire authentication layer. The flow you choose depends directly on the launch context you declared during App Orchard registration in Step 2, so don't treat this as a separate decision.

Pick your OAuth 2.0 flow
Apps with a user present, like a clinician clicking into your tool from inside Epic, use the authorization code flow. Apps running unattended, pulling data on a schedule without a logged-in user, use the backend services flow with a JSON Web Token signed by your private key.
| Flow | Use case | Credential type |
|---|---|---|
| Authorization code | EHR launch, standalone launch with user login | Client ID + redirect URI |
| Backend services (client credentials) | System-level, unattended data pulls | Public/private key pair, JWT |
Match your OAuth flow to your launch context exactly, or you'll be re-registering scopes later.
Request scopes and get your token
Build your token request using the specific FHIR resource scopes you mapped out before registration. A typical authorization code request for patient-facing data looks like this:
POST https://fhir.epic.com/interconnect-fhir-oauth/oauth2/token
Content-Type: application/x-www-form-urlencoded

grant_type=authorization_code
&code={authorization_code}
&redirect_uri={your_redirect_uri}
&client_id={your_client_id}
Epic returns an access token, a token type, an expiration window, and often a refresh token depending on your scope configuration. Confirm the scopes returned in the response match what you requested. Epic will silently drop scopes it doesn't recognize rather than throwing an error, which trips up teams who assume a mismatch means a bug in their code.
Handle token expiration before it breaks your app
Generation of a working token is only half the job. Tokens expire, typically within an hour, so your app needs a refresh strategy built in from day one rather than bolted on after a production outage. For backend services flows, your JWT needs a fresh signature on every token request, since Epic validates the signature timestamp and rejects stale requests. Store your refresh logic close to your API call layer, as the token and app launch auth reference recommends, not as an afterthought service, so a failed refresh doesn't silently break your data pulls for hours before anyone notices.
Step 4. Query FHIR resources and move to production
With a working token in hand, you can finally pull the data your app exists to use. Querying FHIR resources through Epic's API follows a predictable pattern once authentication is solid and you know your FHIR API base URLs and endpoints, but production readiness demands more than a successful GET request. This step covers real query mechanics and the checklist you need to clear before a health system lets your app touch actual patient data.
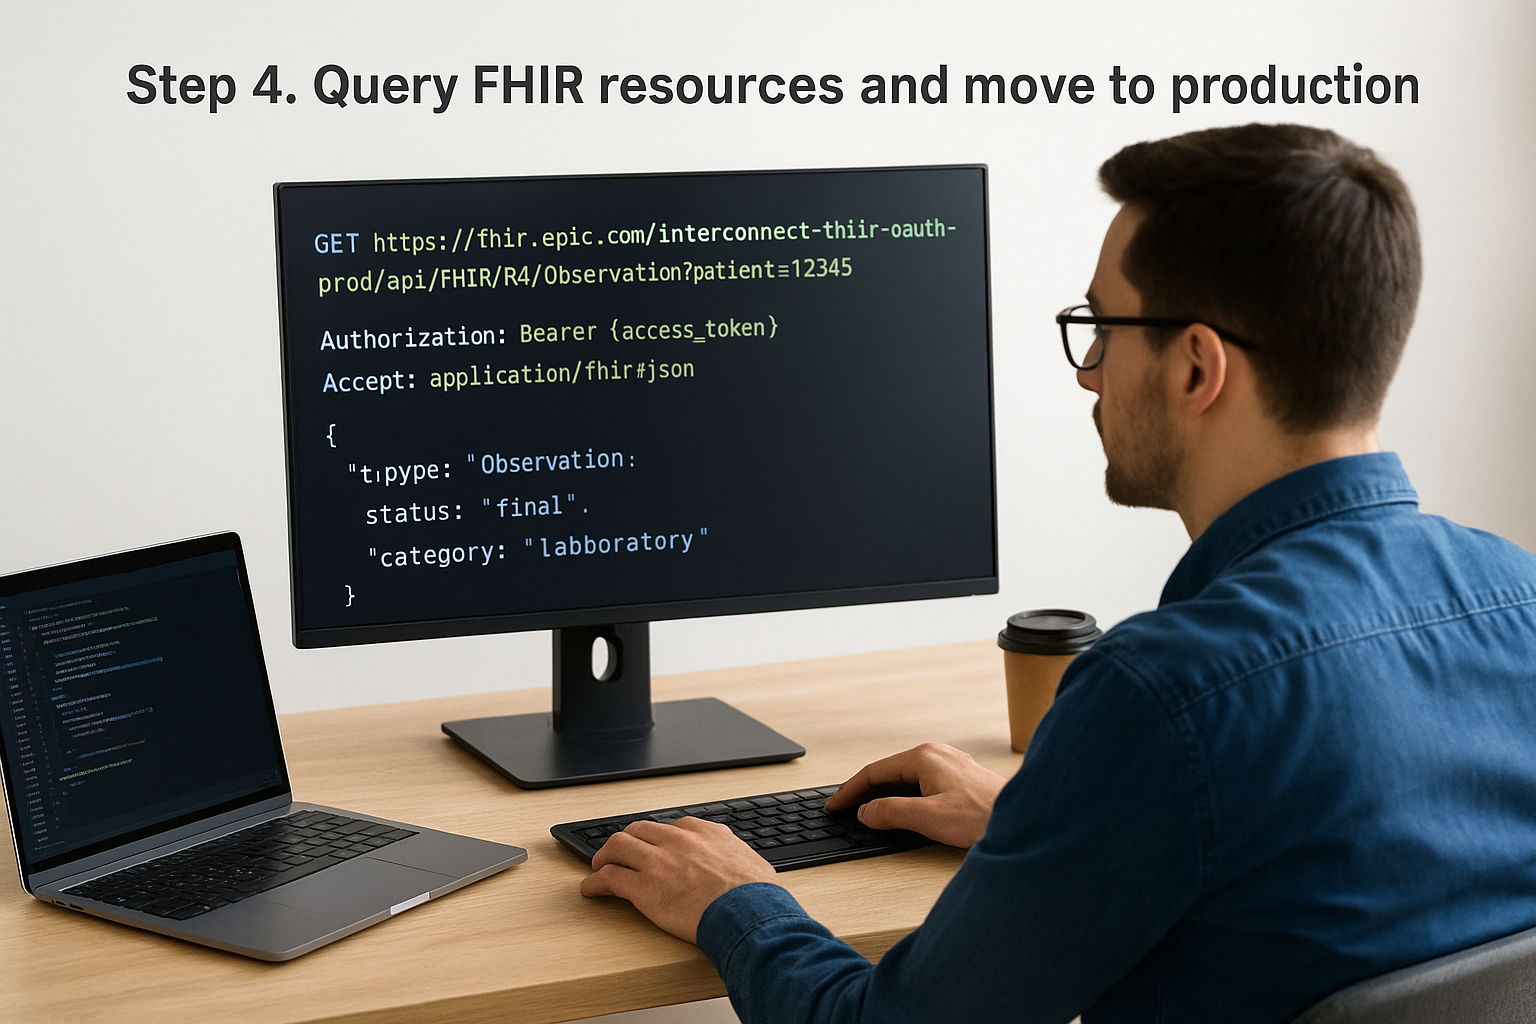
Build your resource queries
Beyond a basic Patient read, most vendors need FHIR search queries with parameters, like pulling recent lab results for a specific patient. A typical Observation search looks like this:
GET https://fhir.epic.com/interconnect-fhir-oauth/api/FHIR/R4/Observation?patient=erXuFYUfucBZaryVksYEcMg3&category=laboratory
Authorization: Bearer {access_token}
Accept: application/fhir+json
Epic returns results as a FHIR Bundle, not a flat list, so your parsing logic needs to unpack entries from that wrapper structure rather than expecting a plain array.
A working token means nothing if your app can't parse Epic's Bundle responses correctly.
Handle pagination and errors
Large result sets come back paginated, with a next link inside the Bundle for retrieving the following page. Build your pagination handler now, not after a health system with a high patient volume exposes the gap. Watch for these response patterns:
- 403 Forbidden: scope mismatch, revisit your App Orchard registration
- 404 Not Found: wrong resource ID or unsupported resource at that site
- OperationOutcome: Epic's structured error object, always parse this before showing a generic failure message
Don't swallow these errors silently. A vendor whose app fails quietly during a clinician's workflow loses that health system relationship fast.
Move from sandbox to production
Once your queries run cleanly against sandbox data, request production credentials through the specific health system you're integrating with, not through Epic directly. Each health system controls its own production access, separate from your App Orchard listing. Before you flip that switch, confirm:
- Your BAA is signed with the health system
- Production redirect URIs are registered and tested
- Monitoring and alerting are live for token failures and API errors
- Your scopes match exactly what was approved, no extras
Skip any of these and you'll find yourself debugging a live clinical workflow instead of a sandbox call, which is a far more expensive place to catch a mistake.
Next steps for your Epic FHIR integration
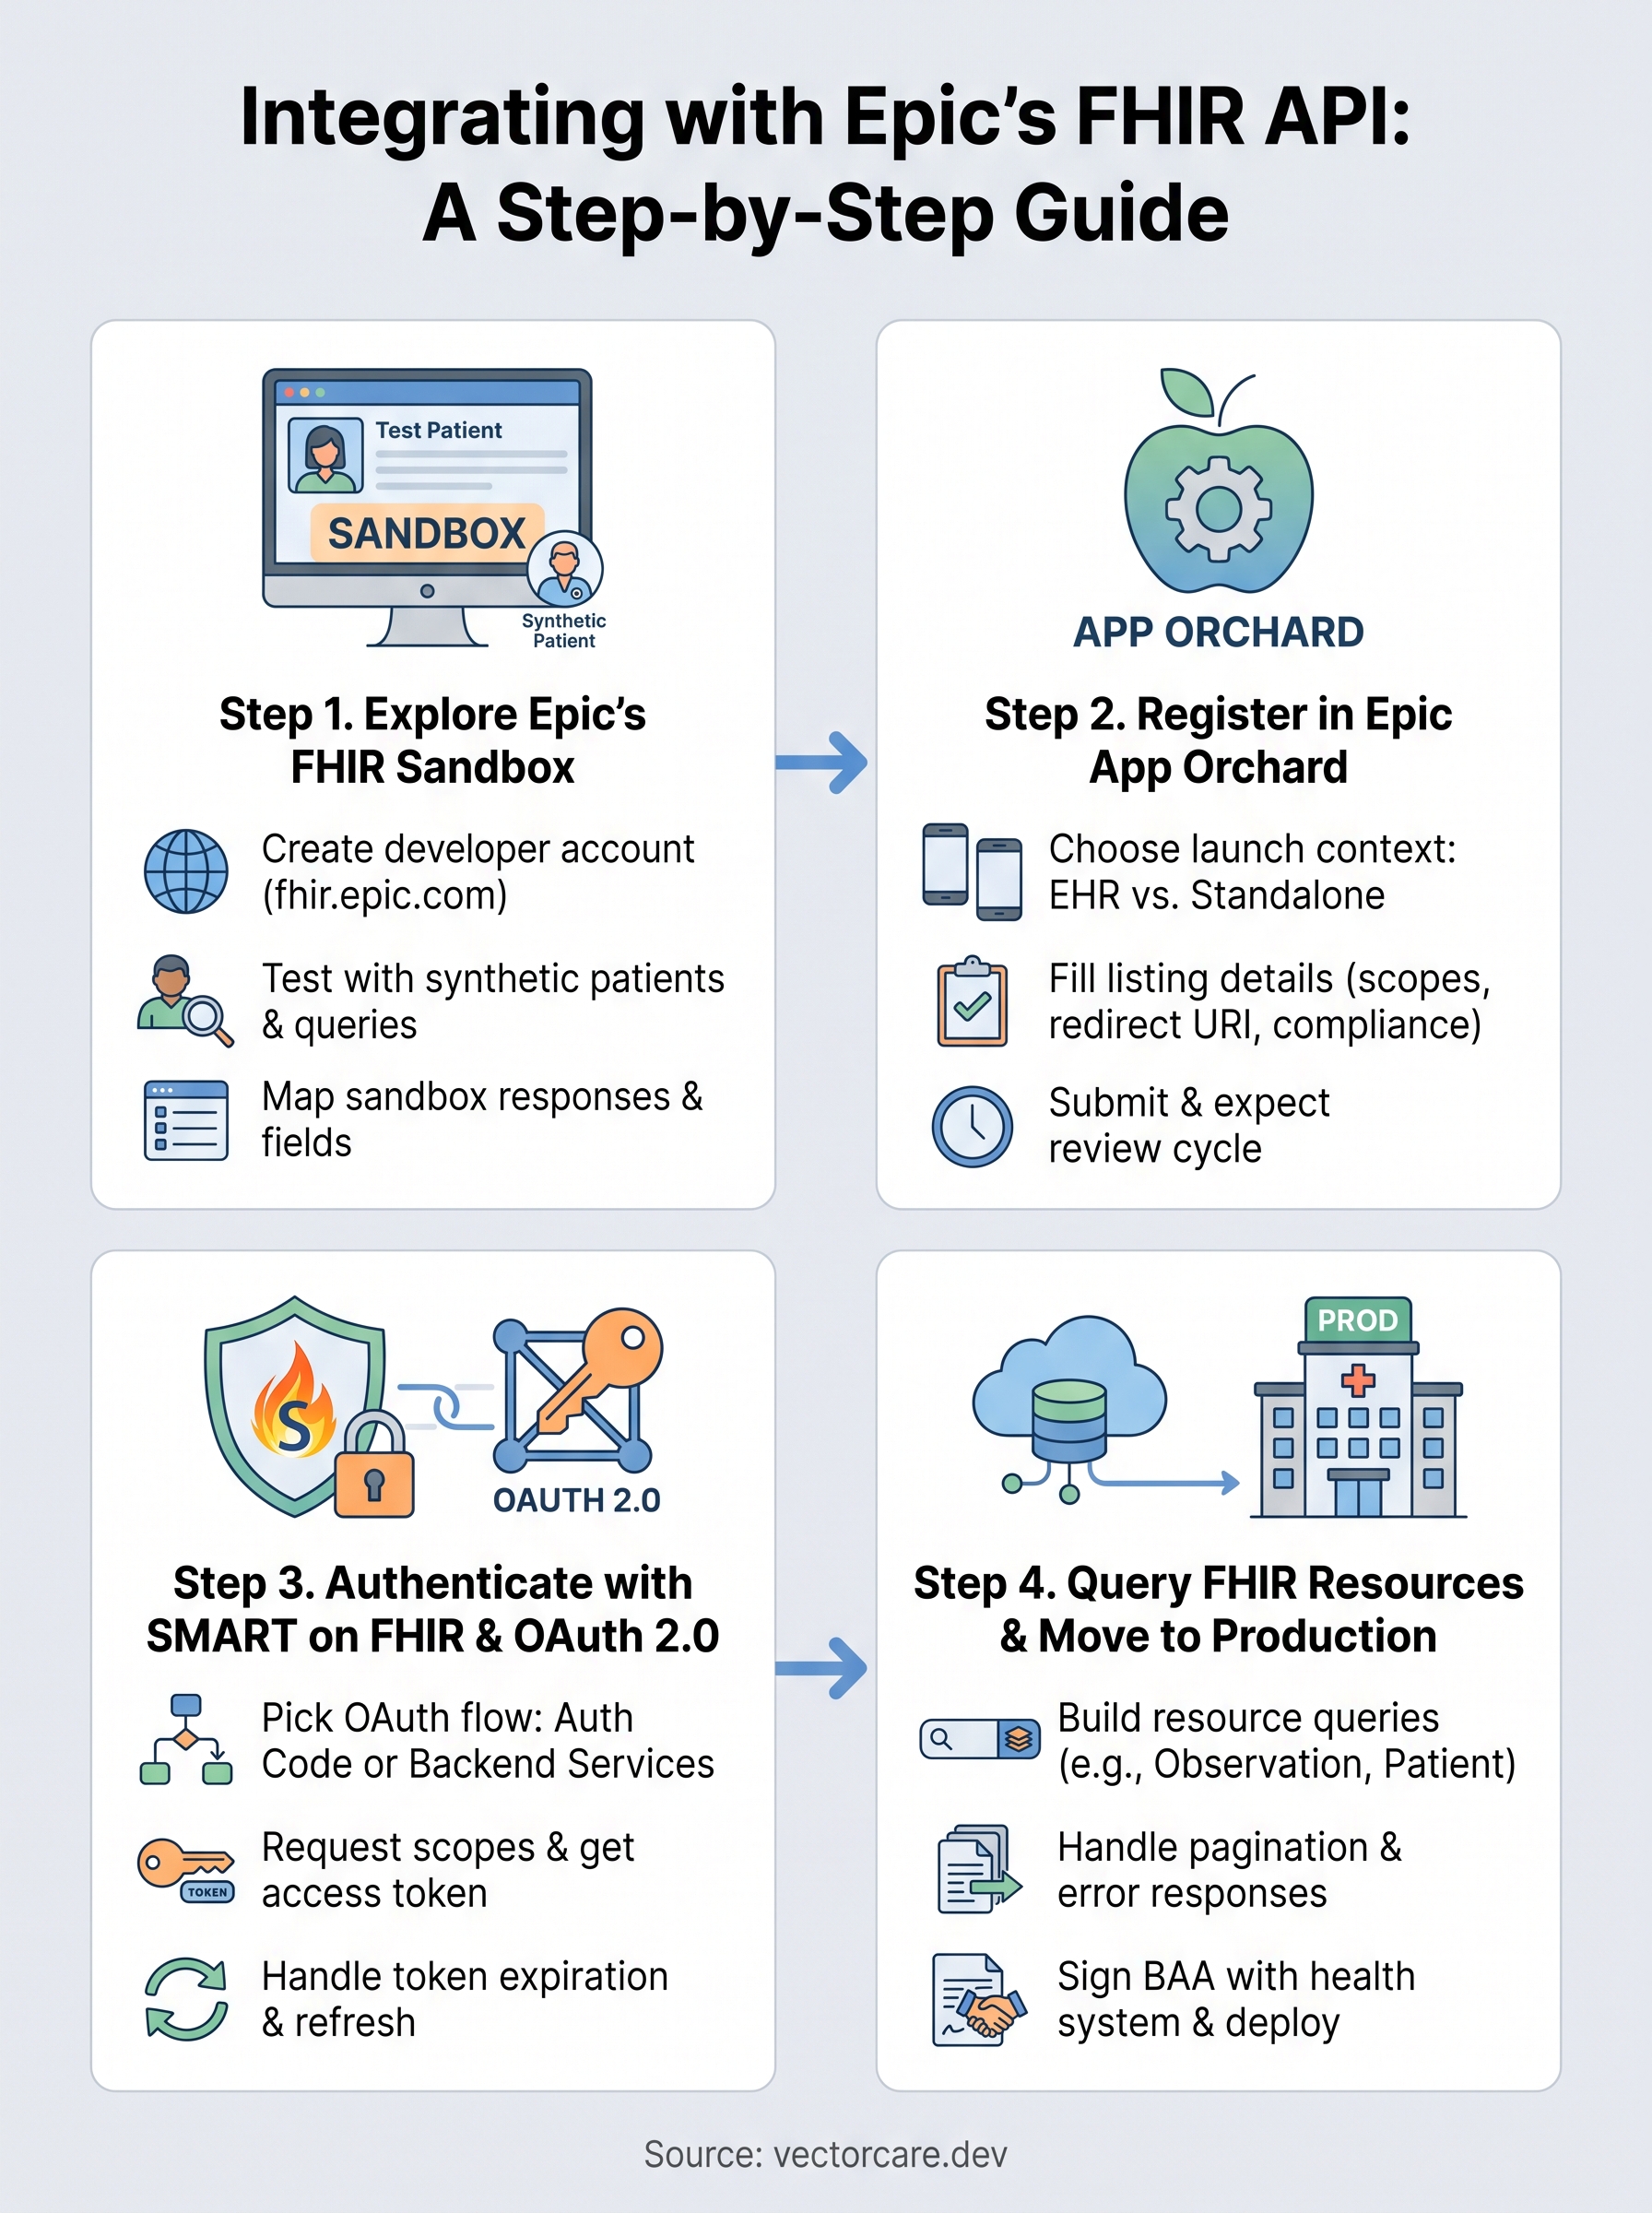
You now have the full path from sandbox to production: developer account, resource scoping, App Orchard registration, OAuth authentication, and live queries against Epic's FHIR endpoints. Each step matters on its own, but strung together they explain why most fhir api epic projects take months instead of weeks. Every handoff between compliance, registration, and engineering is a place teams lose time waiting on reviews or rebuilding a flow they got wrong the first time.
Getting a real epic fhir integration live still means clearing App Orchard review, maintaining tokens, and handling every health system's quirks on your own. If that engineering lift doesn't match your team's bandwidth or timeline, you don't have to build it from scratch. Build and deploy your SMART on FHIR app in days with VectorCare and skip straight to the health system contracts you're actually trying to win.
The Future of Patient Logistics
Exploring the future of all things related to patient logistics, technology and how AI is going to re-shape the way we deliver care.
Thank you! Your submission has been received!
Oops! Something went wrong while submitting the form.