Azure AD SSO Configuration: Step-By-Step SAML Setup

Getting Azure AD SSO configuration right is one of those tasks that sounds straightforward until you're deep in Microsoft's Entra ID portal, toggling between SAML attributes, and second-guessing which reply URL actually works. For healthcare vendors building enterprise applications, especially those targeting integration with systems like EPIC, single sign-on isn't optional. It's a baseline security expectation from every health system IT team you'll pitch to.
This guide walks you through the complete SAML-based SSO setup in Azure AD (now Microsoft Entra ID), from registering your enterprise application to testing the connection with real SAML assertions. Each step includes the specific settings and values you need, so you're not left guessing at certificate formats or claim mapping rules.
At VectorCare, we configure SSO and identity management as part of our managed SMART on FHIR platform for healthcare vendors deploying into EPIC EHR environments. We've built these authentication flows across dozens of health system instances, and this guide reflects what actually works in production, not just what the documentation suggests. Whether you're setting up SAML SSO for your own application or preparing for an EPIC Showroom submission that demands enterprise-grade authentication, the steps below will get you there.
What you need before you start
Before you touch the Microsoft Entra ID portal, gather everything in this section. Missing a single URL or certificate format mid-configuration forces you to backtrack, and that's where most azure ad sso configuration errors originate. This section covers the access requirements, application details, and identity data you need to have ready before you open a browser.
Admin access and Azure AD roles
Your Azure account needs the right permissions, or the SSO configuration settings simply won't appear in the portal. Microsoft Entra ID restricts these controls to users with specific directory roles assigned in the tenant.
You need one of the following roles on your account:
- Global Administrator: Full access to all Entra ID settings
- Application Administrator: Can create and configure enterprise applications and SSO settings
- Cloud Application Administrator: Same scope as Application Administrator, but without on-premises app proxy management
If you're working inside a health system's Azure tenant, request the Application Administrator role from their IT team before your configuration session. Waiting on permissions mid-setup costs hours.
Service provider metadata
Every SAML integration starts with values your service provider (SP) supplies. These come from the application you're connecting to Entra ID, not from Microsoft. Collect them before you log in.
| Value | Description | Example |
|---|---|---|
| Entity ID (Issuer) | Unique identifier for your SP | https://yourapp.com/saml/metadata |
| ACS URL (Reply URL) | Where Azure sends the SAML response | https://yourapp.com/saml/acs |
| Sign-on URL | Where the SSO login starts (SP-initiated flow) | https://yourapp.com/login |
| Name ID format | How the user identity is passed | emailAddress or persistent |
Some applications also provide a metadata XML file that packages all of these values in a single download. If your SP has one available, grab it before you start because Entra ID can import it directly and populate most fields automatically, which cuts down on manual entry mistakes.
Test user accounts
You need at least one test user account in your Azure AD tenant to validate the SSO flow after configuration. That account should match the identity format your SP expects, typically an email address. If your application targets specific groups, create a dedicated test group with that user included so you can verify both role assignment and the full authentication flow in a single test run.
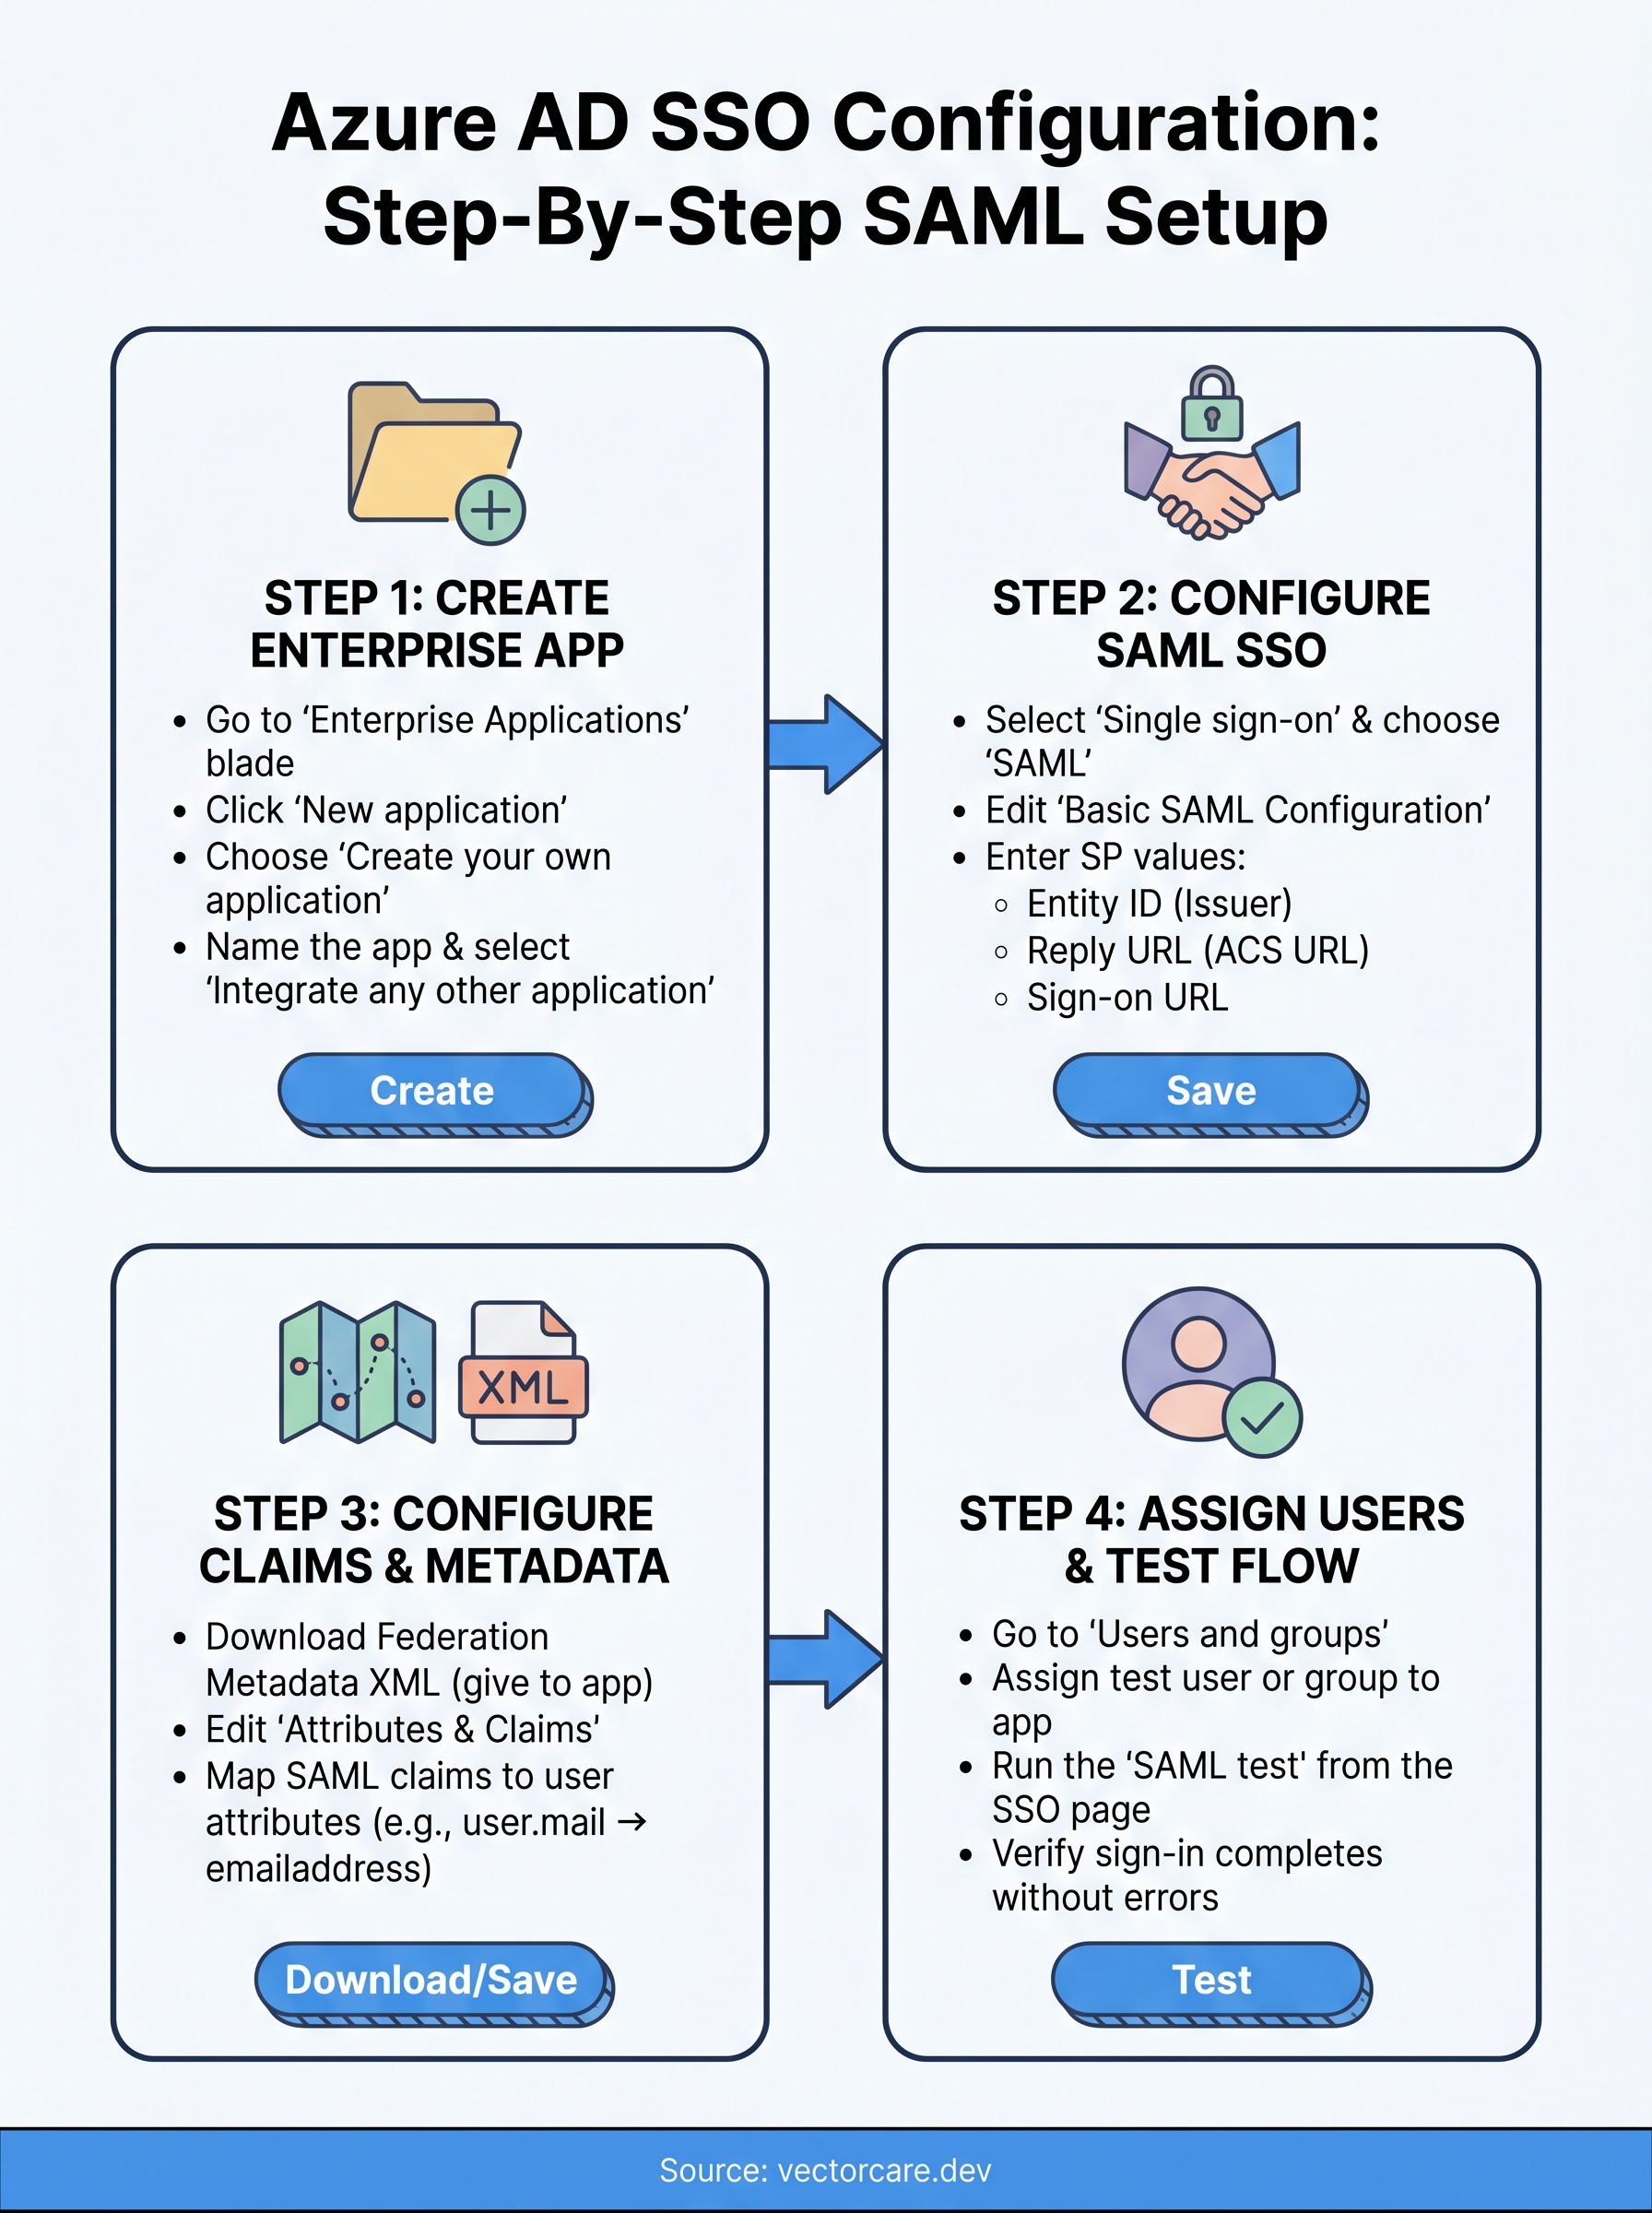
Step 1. Create the enterprise application
Every azure ad sso configuration starts in the same place: the Microsoft Entra ID portal, where you create an enterprise application entry that acts as the configuration container for your SAML settings. This step takes less than five minutes, but getting the naming and setup right here saves confusion later when you're managing multiple integrations across different health system tenants.
Find the enterprise applications blade
Log in to the Microsoft Entra ID portal with your Application Administrator account. From the left-hand navigation, select Microsoft Entra ID, then choose Enterprise applications under the Manage section.
If you don't see Enterprise applications in the menu, your account may lack the required directory role. Confirm your role assignment before continuing.
Once inside Enterprise applications, click New application at the top of the page. This opens the application gallery, where Microsoft lists thousands of pre-configured integrations alongside the option to add your own.
Add and name your application
For custom SAML integrations that don't appear in the gallery, click Create your own application at the top of the gallery page. A side panel opens with two fields you need to complete.
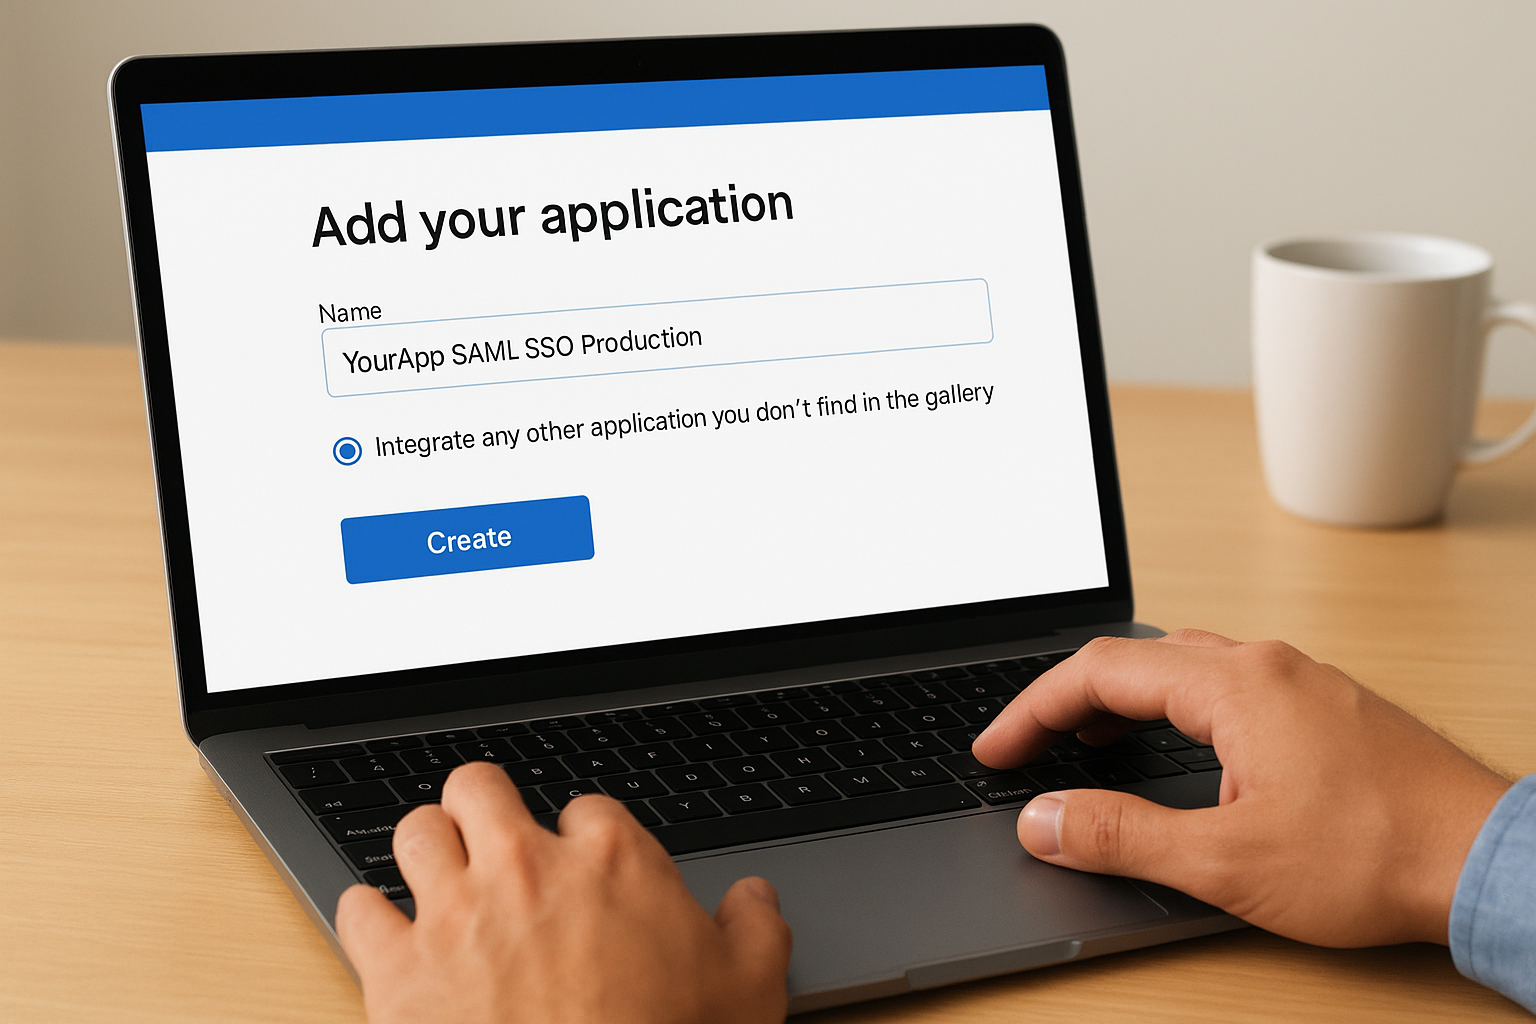
- Name: Enter a clear, descriptive name such as
YourApp SAML SSO Production. Avoid generic names like "Test App" since health system admins see this label in their own portal views. - Integrate any other application you don't find in the gallery: Select this radio button to unlock the SAML configuration options you'll use in the next step.
Click Create. Entra ID provisions the application and redirects you to its overview page, where all remaining SSO settings live.
Step 2. Configure SAML SSO in Microsoft Entra ID
With your enterprise application created, you're now ready to wire up the SAML protocol settings that connect your service provider to Entra ID. This is the core of the entire azure ad sso configuration process, where you input the SP values you collected earlier and download the certificate your application needs to validate signed assertions.
Enable SAML as the sign-on method
From your new application's overview page, select Single sign-on from the left-hand Manage menu. Entra ID displays several sign-on method options including OIDC, password-based, and linked. Click the SAML tile to activate SAML-based authentication. The page reloads with the full SAML configuration panel.
Save the page after each section you complete. Entra ID doesn't auto-save, and navigating away before saving loses your inputs.
Enter your basic SAML configuration values
Click Edit inside the Basic SAML Configuration card at the top of the page. Fill in the fields using the SP metadata values you gathered before starting.
| Field | Value to enter |
|---|---|
| Identifier (Entity ID) | Your SP's Entity ID, e.g. https://yourapp.com/saml/metadata |
| Reply URL (ACS URL) | Your SP's Assertion Consumer Service URL |
| Sign on URL | Your SP-initiated login URL |
| Relay State | Optional; leave blank unless your SP requires it |
Once you've entered all values, click Save. Entra ID validates the URL formats automatically and flags malformed entries before you proceed to claims configuration.
Step 3. Configure your app and SAML claims
With your basic SAML settings saved, your application now needs two things from Entra ID: the federation metadata it uses to trust signed assertions, and the claims configuration that controls which user attributes get passed in each SAML response. This step completes the trust relationship between Microsoft Entra ID and your service provider.
Download the federation metadata
Scroll down to the SAML Certificates card on the configuration page. You'll see two download options: the raw certificate file and the full Federation Metadata XML. Download the Federation Metadata XML and hand it to your application's configuration interface. Most modern SAML-capable apps accept this file directly and parse the signing certificate, issuer URL, and login endpoint without any manual input on your end.
If your SP only accepts a PEM-format certificate, download the Certificate (Base64) file instead and import it under your app's SAML identity provider settings.
Map SAML claims to user attributes
Click Edit inside the Attributes and Claims card. Entra ID populates a default set of claims, but most applications require customization. The table below shows the standard claims you should verify before testing.

| Claim name | Source attribute | Required for |
|---|---|---|
emailaddress |
user.mail |
User identification |
givenname |
user.givenname |
Display name |
surname |
user.surname |
Display name |
name |
user.userprincipalname |
Unique identifier |
Adjust any claim that doesn't match what your SP expects. A mismatch between the claim name your app requests and what Entra ID sends is one of the most common failures in any azure ad sso configuration, and it surfaces only at test time if you skip this verification now.
Step 4. Assign users and test the sign-in flow
Your SAML configuration is saved, but no one can use it yet. Entra ID blocks access to enterprise applications by default until you explicitly assign users or groups. Skipping this step is why most azure ad sso configuration test runs fail with an access error before a single SAML assertion ever gets generated.
Assign users or groups to the application
From your application's left-hand menu, select Users and groups, then click Add user/group. In the side panel, click None Selected under Users and groups to open the search interface. Find your test user or test group, select them, and click Assign to confirm.
Keep your initial assignment narrow:
- Add only your test account or a dedicated test group first
- Expand access to production users only after the sign-in test passes
- Use security groups rather than direct user assignment for anything beyond testing, so access scales without manual updates
Run the SAML test
Navigate back to the Single sign-on configuration page for your application and scroll to the bottom. Click Test inside the Test single sign-on card. Entra ID opens a test panel where you can initiate an SP-initiated or IdP-initiated flow directly from the portal.
If the test returns a SAML error, click View SAML response in the error panel. The raw XML shows exactly which claim or URL caused the failure, which cuts debugging time significantly.
Select Sign in as current user and confirm the authentication completes without errors before you expand access to additional users.
Wrap-up
You now have a complete azure ad sso configuration built on SAML, from enterprise application creation through claim mapping and live testing. Each step in this guide reflects the actual sequence you need to follow: skip the user assignment step, and your test fails before a single assertion fires; misconfigure a claim name, and your SP rejects every login silently. Getting the sequence right matters as much as getting the individual settings right.
For healthcare vendors, this is just one layer of a much larger integration challenge. Building SMART on FHIR applications that health systems will actually approve involves SSO, FHIR data access, compliance documentation, and EPIC Showroom submissions all running in parallel. If you want to skip the engineering overhead and get your application live inside EPIC in weeks rather than months, see how VectorCare's managed platform handles it.
The Future of Patient Logistics
Exploring the future of all things related to patient logistics, technology and how AI is going to re-shape the way we deliver care.
Thank you! Your submission has been received!
Oops! Something went wrong while submitting the form.