Workday SSO Setup: Step-By-Step Guide For Entra, Okta, Ping

Getting Workday SSO setup right is one of those tasks that looks straightforward on paper but quickly turns into a maze of SAML assertions, metadata files, and identity provider quirks. Whether you're connecting through Microsoft Entra ID (formerly Azure AD), Okta, or Ping Identity, each path has its own configuration requirements and potential pitfalls that can stall your rollout.
For healthcare vendors especially, SSO isn't optional, it's table stakes. Health systems expect seamless, secure authentication across every application in their stack, from Workday to clinical tools embedded in the EHR. At VectorCare, we deal with this reality daily. Our no-code platform helps healthcare vendors integrate with EPIC EHR systems, and proper identity management, including SSO, is a critical piece of that puzzle. We've seen firsthand how authentication misconfigurations delay go-lives and erode trust with health system IT teams.
This guide walks you through the complete SSO setup process for Workday across three major identity providers: Entra ID, Okta, and Ping Identity. You'll get exact steps, configuration screenshots to look for, and troubleshooting tips so you can get authentication working correctly the first time rather than burning weeks on back-and-forth support tickets.
Before you start: SSO options and prerequisites
Before you touch a single configuration setting, you need to understand what Workday supports and what you need to have in place before starting. Skipping this step is the most common reason a workday sso setup stalls mid-way, forcing you to backtrack and re-collect information you should have gathered upfront. A few minutes of preparation here saves hours of troubleshooting later.
SSO authentication methods Workday supports
Workday supports SAML 2.0 as its primary SSO protocol. It does not natively support OIDC or OAuth for direct SSO authentication in the same way it handles SAML, so regardless of whether you're using Entra ID, Okta, or Ping Identity, your integration will run through SAML assertions. Each identity provider acts as the IdP, and Workday acts as the service provider (SP) in the exchange.
Workday's SAML implementation requires both a signed authentication request and a signed SAML response, so your IdP certificate configuration must be exact or assertions will fail silently.
Prerequisites checklist
You'll need a specific set of items ready before you configure anything on either the IdP or Workday side. Missing even one of these details will block you at some point in the process, so confirm each requirement before you open a single configuration screen.
Admin access requirements:
- Workday tenant with a Security Administrator role assigned to your user
- Admin access to your IdP: Entra ID Global Admin, Okta Org Admin, or Ping Identity Administrator
- Your active Workday tenant URL (format:
https://wd3.myworkday.com/[tenant]/login-saml2.htmld)
Certificate and metadata files:
- Your IdP's SAML metadata XML file or individual values: Entity ID, SSO URL, and signing certificate
- A valid X.509 signing certificate exported from your IdP
- Workday's SP metadata file, downloaded from your Workday tenant after you enable SAML
User attribute mapping decisions:
- The attribute your IdP sends as the SAML subject (typically email address or employee ID)
- Confirmation that your Workday users have matching attribute values in your IdP directory
Step 1. Collect Workday URLs, tenant info, and user IDs
Before you configure anything in your identity provider, gather every Workday-specific value you'll need during the SAML setup. Trying to locate these details mid-configuration breaks your flow and increases the risk of copy-paste errors in critical fields like entity IDs and assertion consumer service URLs.
Find your Workday tenant URLs
Log into your Workday tenant as a Security Administrator and navigate to Edit Tenant Setup - Security. From there, you'll pull the exact URLs your IdP requires to send SAML assertions to the right endpoint.
Copy these values into a working document before you open your IdP console. One wrong character in the ACS URL will cause every SSO login attempt to fail.
Use this table as your collection template:
| Field | Where to find it | Example format |
|---|---|---|
| Tenant URL | Browser address bar after login | https://wd3.myworkday.com/yourcompany |
| ACS URL | Edit Tenant Setup - Security | https://wd3.myworkday.com/yourcompany/login-saml.htmld |
| SP Entity ID | Edit Tenant Setup - Security | http://www.workday.com |
| SP Metadata URL | Edit Tenant Setup - Security | https://wd3.myworkday.com/yourcompany/metadata |
Identify the correct user ID attribute
Your workday sso setup depends on matching users across both systems using a consistent attribute. Workday maps incoming SAML assertions to users via the User Name field in each worker profile, which typically stores the email address or employee ID. Confirm which value your directory uses before you move to IdP configuration.
Step 2. Configure SAML in Entra, Okta, and Ping
With your Workday values collected, this step of your workday sso setup is where you register Workday as a SAML service provider inside your identity provider. The data you enter stays consistent across all three providers, but field names and navigation paths differ enough to cause confusion.
Microsoft Entra ID
In the Entra ID portal, go to Enterprise Applications > New Application and select "Create your own application." Choose the non-gallery option, open Single Sign-On, and select SAML. Enter these values in the Basic SAML Configuration panel:
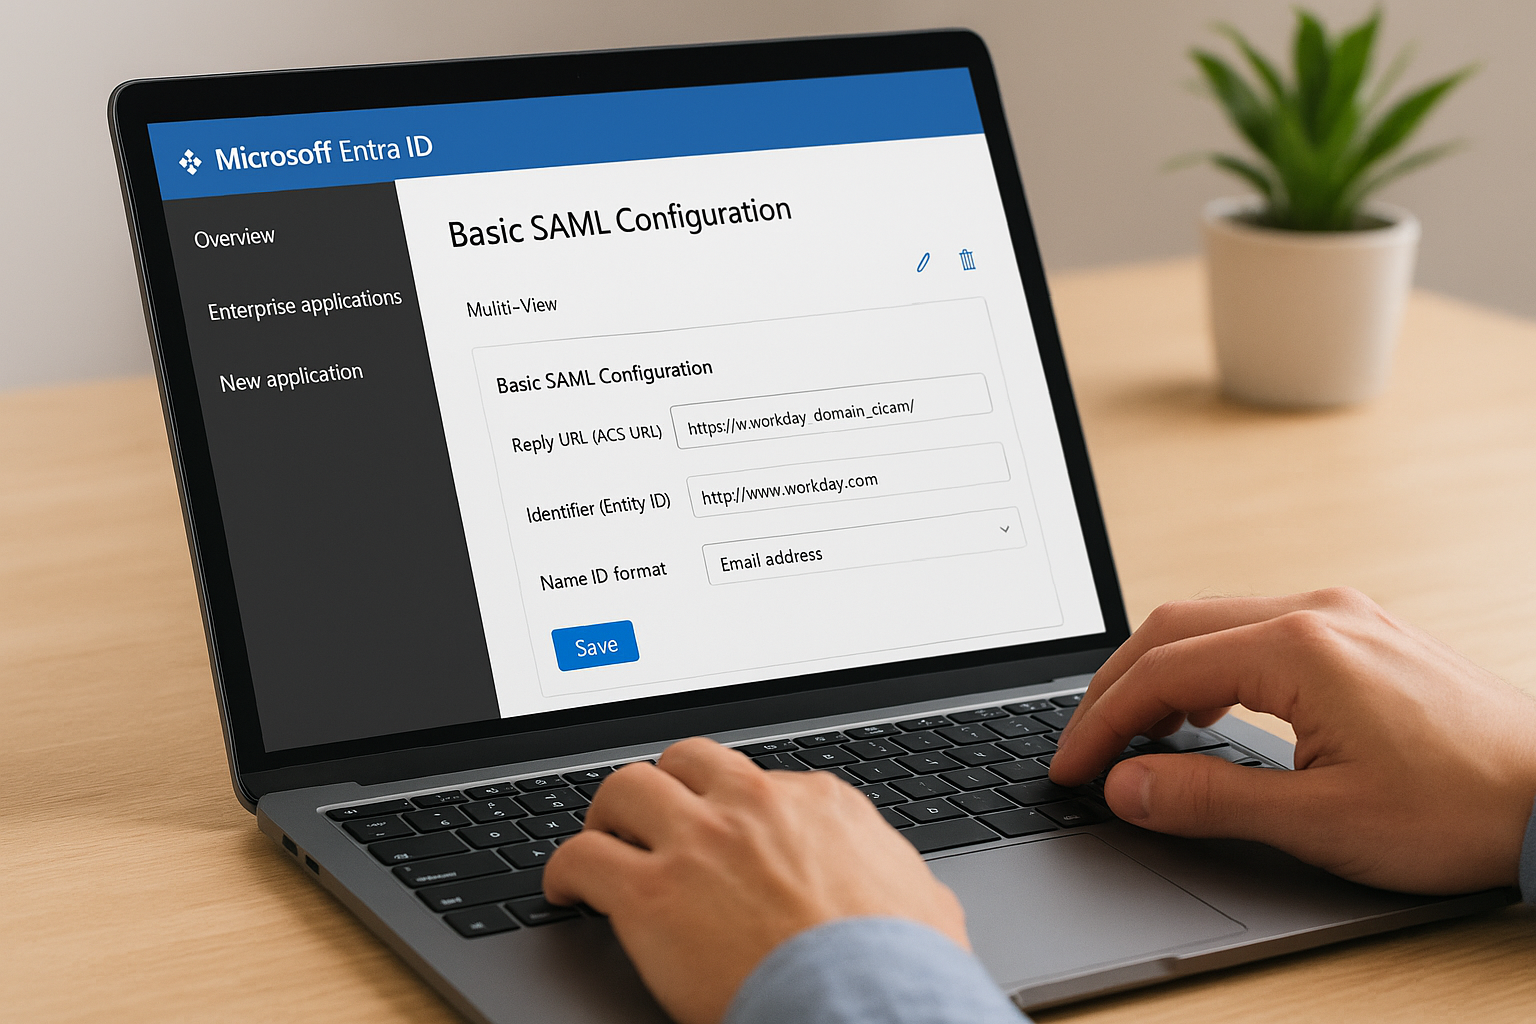
- Reply URL (ACS URL): Your Workday ACS URL from Step 1
- Identifier (Entity ID):
http://www.workday.com - Name ID format: Email Address or Persistent
Download the Federation Metadata XML from the SAML Signing Certificate section before leaving this screen, or you will have to return here during Workday configuration.
Okta
Navigate to Applications > Create App Integration and select SAML 2.0. Paste your Workday ACS URL into the Single sign-on URL field and your SP Entity ID into the Audience URI field.
Set the Name ID format to match your attribute decision from Step 1, then click "View SAML setup instructions" to download the IdP metadata XML you'll need in Step 3.
Ping Identity
Open PingFederate or PingOne and create a new SP Connection. Upload Workday's SP metadata XML to auto-populate most fields.
Verify that the ACS URL and Entity ID loaded correctly, then configure your attribute contract to map the correct user identifier to the SAML subject.
Step 3. Configure Workday SAML, IdP, and redirect URLs
With your IdP configured, you now return to Workday and complete the other side of the SAML handshake. This is where your workday sso setup becomes active, and where most configuration errors surface if your values from Steps 1 and 2 weren't entered consistently.
Enable SAML authentication in Workday
Log into Workday as a Security Administrator and search for Edit Tenant Setup - Security in the search bar. Scroll to the SAML Setup section and check Enable SAML Authentication. This activates the fields you need to fill in next.
Do not save and exit this screen until you have entered all required IdP values, or Workday may lock your tenant to a broken SSO state that requires a support ticket to reverse.
Upload your IdP metadata and configure redirect URLs
Paste your IdP SSO URL (the login endpoint from Entra, Okta, or Ping) into the Identity Provider SSO Service URL field. Then upload the X.509 signing certificate you exported in Step 2.
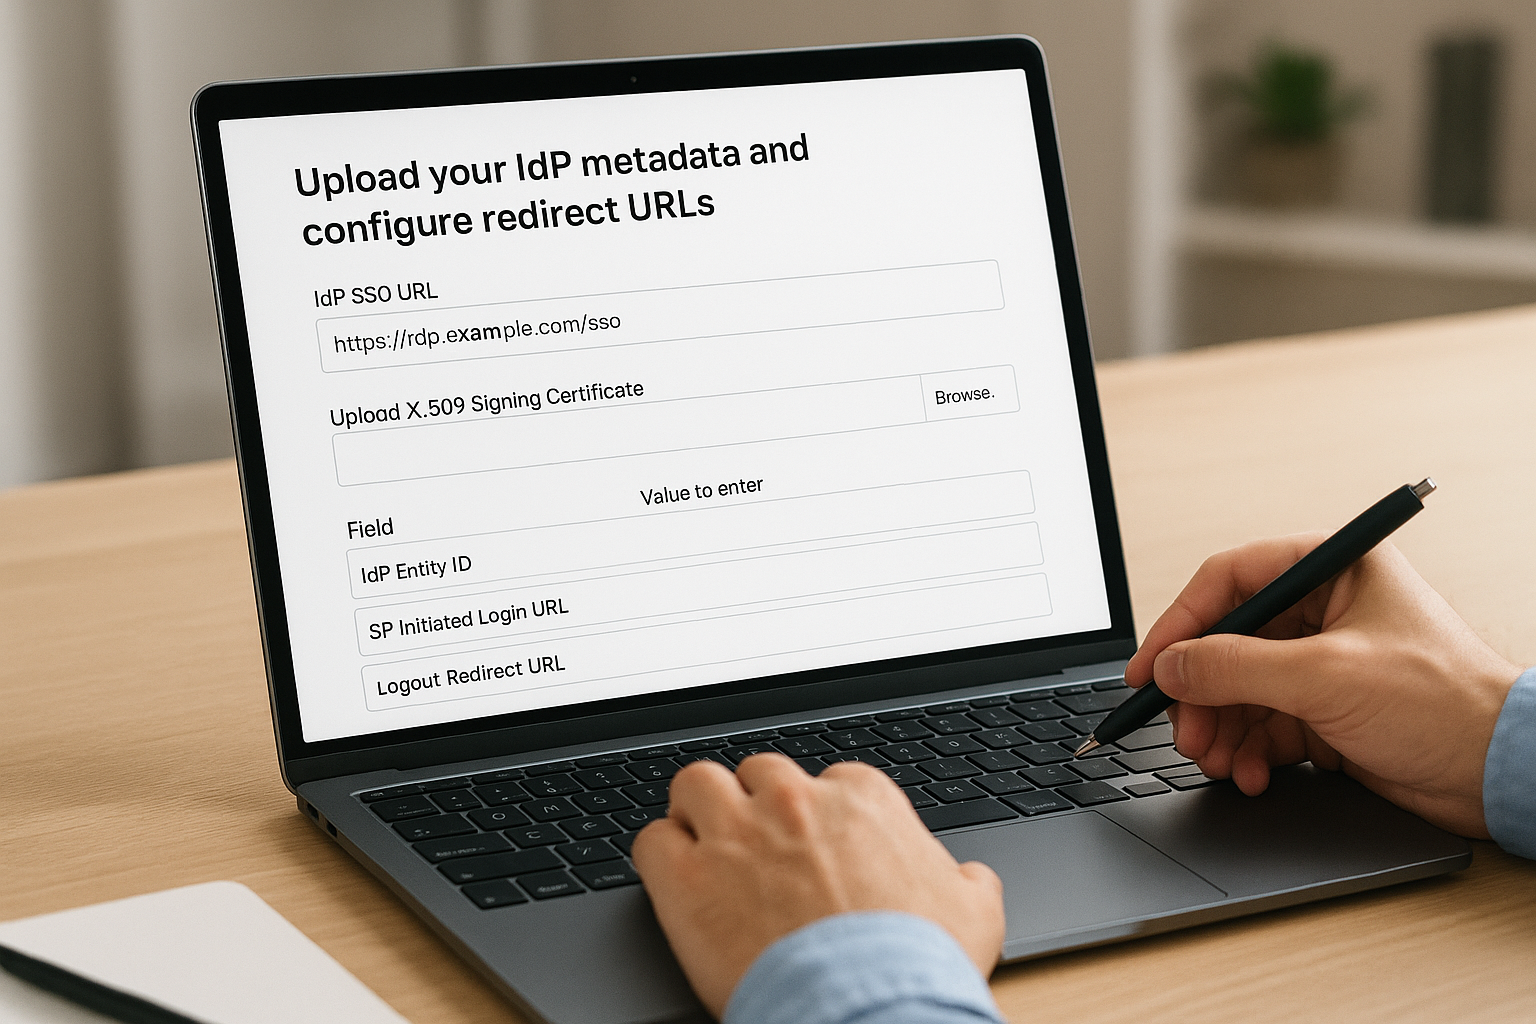
Set the following fields using the values you collected earlier:
| Field | Value to enter |
|---|---|
| IdP Entity ID | Copied from your IdP metadata |
| SP Initiated Login URL | Your Workday tenant ACS URL |
| Logout Redirect URL | Your IdP single logout endpoint |
| Name ID Format | Match your IdP attribute setting |
Save the configuration once every field is confirmed, then move to testing.
Step 4. Test SSO and fix common setup mistakes
With both sides of your workday sso setup configured, you need to verify the connection before you open access to users. Testing in a controlled sequence lets you catch configuration errors against a single account rather than discovering them during a broad rollout.
Run your first SSO test
Open an incognito browser window and navigate to your Workday tenant URL. Click the SSO login option and complete authentication through your IdP. If the login succeeds and Workday loads your worker profile, your SAML handshake is working. If it fails, capture the exact error message before you change anything, since errors tell you which side of the connection is rejecting the assertion.
A "SAML response signature validation failed" error almost always means the X.509 certificate in Workday does not match the active signing certificate in your IdP.
Common errors and fixes
Most failures in a Workday SSO configuration come down to a small set of repeatable mistakes. Use this table to match your error to a specific fix:
| Error | Likely cause | Fix |
|---|---|---|
| Invalid ACS URL | Typo in the endpoint | Re-copy ACS URL from Workday directly |
| User not found | Mismatched Name ID attribute | Align IdP attribute to Workday User Name field |
| Certificate mismatch | Expired or wrong cert uploaded | Re-export and re-upload IdP signing certificate |
| Redirect loop | Logout URL misconfigured | Enter correct IdP single logout endpoint in Workday |

Wrap-up and next steps
A complete workday sso setup follows the same logical sequence every time: gather your Workday tenant values, register Workday as an SP in your identity provider, upload your IdP metadata back into Workday, and test with a single account before you open access broadly. Whether you used Entra ID, Okta, or Ping Identity, the SAML handshake works the same way under the hood, so the troubleshooting steps apply across all three.
Once your SSO is live, your next challenge is often integrating Workday and other enterprise tools into broader clinical workflows, particularly if you sell into health systems that run EPIC. That integration layer carries its own complexity around authentication, FHIR data access, and compliance requirements. If you are a healthcare vendor navigating that problem, explore how VectorCare handles EPIC integrations so your team can focus on your core product instead of rebuilding authentication plumbing from scratch.
The Future of Patient Logistics
Exploring the future of all things related to patient logistics, technology and how AI is going to re-shape the way we deliver care.
Thank you! Your submission has been received!
Oops! Something went wrong while submitting the form.