OpenID Connect Best Practices: 7 Steps For Safer Auth

OpenID Connect (OIDC) sits at the center of every SMART on FHIR launch sequence. If you're building an application that integrates with EPIC or any other EHR, your authentication layer isn't just a checkbox, it's the front door to protected health information. Getting openid connect best practices right means the difference between a secure, trustworthy product and one that leaks tokens, mishandles sessions, or fails a security review before it ever reaches production.
The problem is that OIDC is deceptively simple on the surface. The spec is well-documented, libraries exist for every major language, and a basic login flow can work in an afternoon. But production-grade healthcare authentication demands more. You need proper token validation, secure storage, scoped access, and session management that holds up under real clinical workflows, not just demo conditions.
This article breaks down seven concrete steps to tighten your OpenID Connect implementation. Whether you're handling OIDC yourself or relying on a managed platform like VectorCare Dev SoFaaS, which handles SMART on FHIR compliance, OAuth, and OIDC configuration as part of its no-code EPIC integration platform, these practices apply. Understanding what's happening under the hood makes you a better decision-maker, whether you write the code or not.
1. Start with a hardened OIDC architecture you can run
Before you write a single line of authentication code, you need a clear picture of your OIDC architecture. Many teams bolt authentication onto an existing system and discover gaps only after a failed security review. Building with structure and intentionality from the start saves significant rework later.
What to do
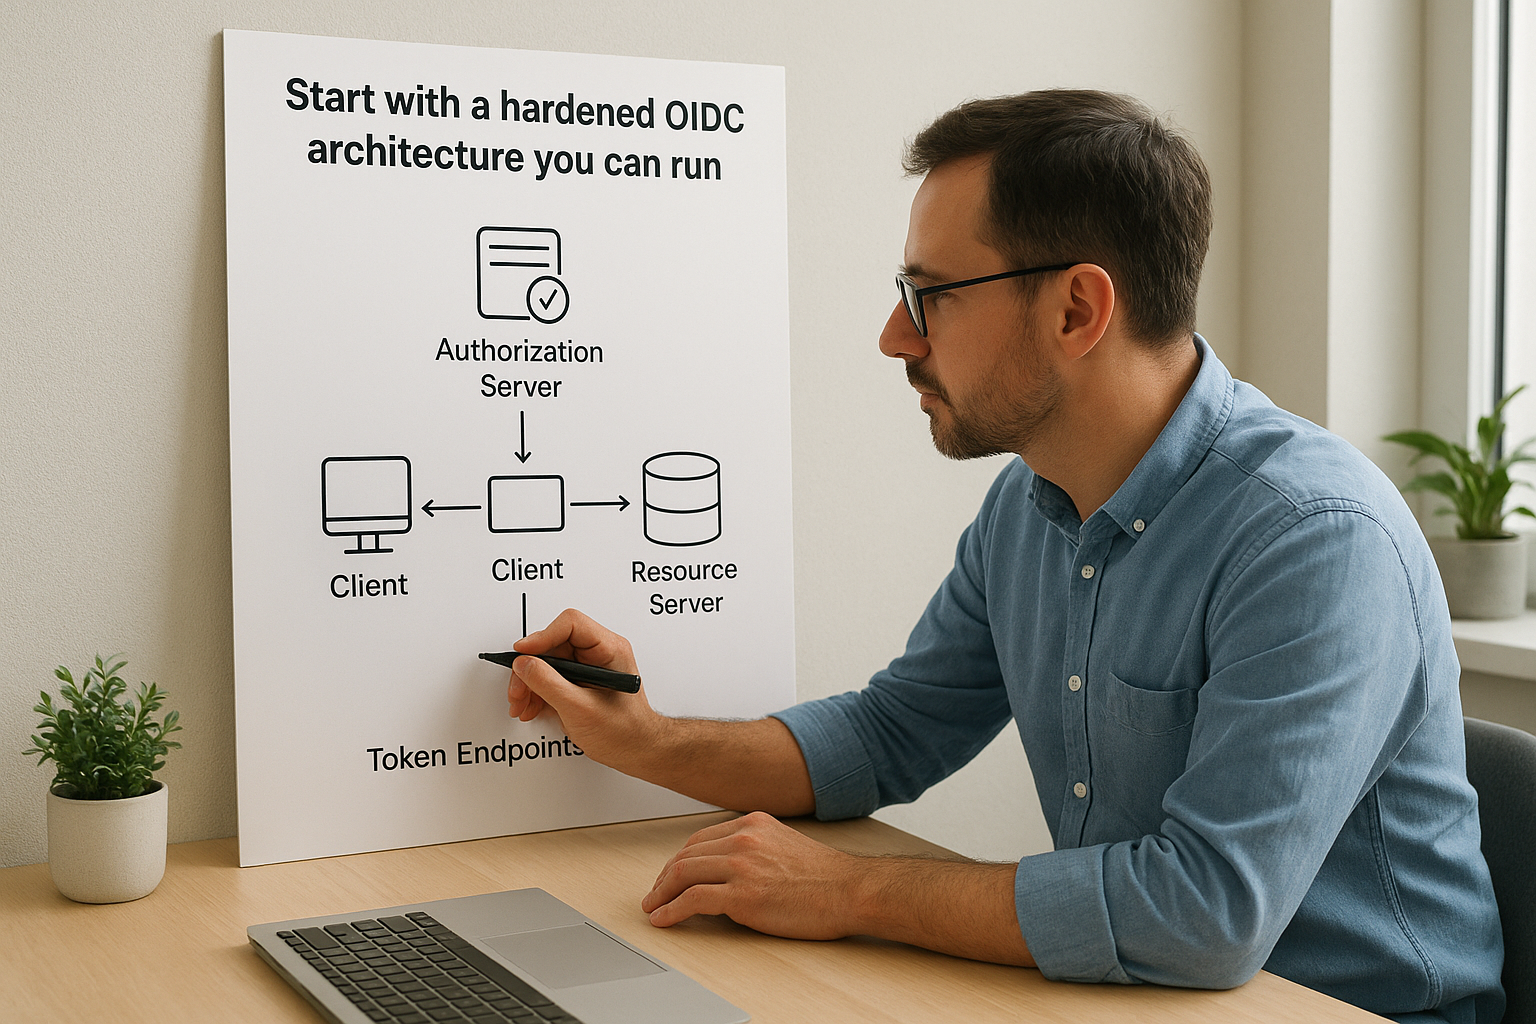
Design your OIDC setup around a dedicated authorization server (your identity provider, or IdP) that issues tokens separately from your application logic. Map out every component: the IdP, your resource server, your client application, and the token endpoints each component calls. Write this down before you build anything.
Why it matters
Following openid connect best practices starts with architecture, not implementation details. A poorly structured system creates blind spots where tokens get misused, sessions overlap, or scopes expand beyond what clinical workflows require. A clear separation of concerns also makes your system far easier to audit, which matters enormously when health systems review your application before granting production access.
A system that is hard to audit is a system that is hard to trust.
How to implement it in a healthcare and Epic context
In an EPIC SMART on FHIR integration, your authorization server is EPIC itself. Your application acts as the OIDC client, and EPIC issues tokens scoped to patient or user context. You must configure your client credentials, redirect URIs, and launch parameters correctly in the EPIC App Orchard before any authentication flow can run. Platforms like VectorCare handle this configuration layer, which reduces the risk of misconfiguration at this critical step.
Common pitfalls to avoid
Several mistakes show up repeatedly at this architectural stage. Catching them early prevents problems that compound as your system scales.
- Mixing authentication and authorization logic inside the same service instead of keeping them separate
- Hardcoding client secrets or JWKS URIs directly in application code rather than environment configuration
- Skipping documentation of your token flow, which makes incident response much harder
Quick checklist
Use this before you move to implementation:
- Authorization server identified and configured
- Token endpoints documented for each environment
- Client credentials stored in environment variables, not in code
- Redirect URIs registered and locked down in your IdP
2. Use authorization code flow with PKCE everywhere
The authorization code flow with PKCE (Proof Key for Code Exchange) is the only flow you should use for SMART on FHIR and most modern OIDC implementations. Implicit flow is deprecated, and client credentials flow doesn't apply to user-facing authentication. If your system still uses anything other than authorization code flow with PKCE, that is the first thing to change.
What to do
Replace any implicit or hybrid flows with authorization code flow plus PKCE across every client type, including server-side apps, single-page applications, and mobile clients. PKCE adds a cryptographic code verifier that prevents authorization code interception attacks, which are a real threat in browser and mobile environments.
Why it matters
Following openid connect best practices requires defending against code interception at every layer. Without PKCE, an attacker who intercepts the authorization code can exchange it for tokens. PKCE binds the initial authorization request to the token exchange, so a stolen code becomes worthless.
A stolen authorization code without PKCE is a working key. With PKCE, it is just noise.
How to implement it
Generate a cryptographically random code verifier between 43 and 128 characters on each authorization request, hash it with SHA-256 to produce the code challenge, and send the challenge with the authorization request. Submit the original code verifier at the token endpoint for verification.
Common pitfalls to avoid
- Reusing code verifiers across multiple requests
- Using the plain method instead of S256 for the code challenge
Quick checklist
- PKCE enabled on all client types
- S256 method used for the code challenge
- Code verifier generated fresh on every request
3. Validate ID tokens like you mean it
Receiving an ID token does not mean you should trust it. Every token your application receives needs to go through a complete validation sequence before you act on any claim inside it. Skipping even one step opens the door to token forgery and replay attacks.
What to do
Validate every field that the OIDC specification requires you to check. That means verifying the signature, confirming the issuer (iss) matches your expected IdP, confirming the audience (aud) matches your registered client ID, and checking that the token has not expired (exp).
Why it matters
Partial validation is functionally the same as no validation. A token with a valid signature but a mismatched audience could have been issued to a different client entirely. Following openid connect best practices means treating every claim as untrusted until your application explicitly confirms it.
A token you accept without full validation is a trust decision you made blindly.
How to implement it
Use a well-maintained OIDC library rather than parsing JWTs manually. Fetch the public signing keys from your IdP's JWKS URI and rotate them on a defined schedule. Also verify the nonce claim on every ID token to tie it back to the original authorization request.
Common pitfalls to avoid
- Trusting library defaults without confirming which claims they actually validate
- Caching JWKS keys indefinitely instead of refreshing them periodically
Quick checklist
- Signature verified against the JWKS endpoint
iss,aud,exp, andnonceall confirmed- JWKS key rotation logic in place
4. Lock down redirect URIs, state, and nonce
Redirect URIs, the state parameter, and the nonce claim are three controls that work together to prevent open redirect attacks, cross-site request forgery, and token replay. Treating any one of them as optional weakens your entire authentication flow.

What to do
Register exact, full redirect URIs with your IdP and reject any authorization response that returns to an unregistered URI. Generate a cryptographically random state value on every request and verify it in the callback. Attach a unique nonce to each authorization request and confirm it appears in the returned ID token.
Why it matters
Following openid connect best practices requires closing every redirect-based attack vector. An open redirect can send users and tokens to attacker-controlled endpoints, while a missing state check enables cross-site request forgery. A missing nonce check allows token replay across separate sessions, which is a direct threat in clinical environments where patient data context must remain tied to a single authenticated session.
If your callback accepts any URI the authorization server returns, you have handed attackers a working delivery mechanism.
How to implement it
Store state and nonce values in your server-side session before redirecting the user. On callback, compare the returned state to the stored value and reject the response on any mismatch. Confirm the nonce inside the validated ID token matches exactly what you stored at the start of the request.
Common pitfalls to avoid
- Using wildcard or pattern-matched redirect URIs instead of exact registered strings
- Storing
stateonly in client-side storage, which is vulnerable to manipulation
Quick checklist
- Redirect URIs registered as exact strings in the IdP
stategenerated fresh and verified on every callbacknonceconfirmed inside each validated ID token
5. Store sessions and browser data safely
Where you store session data and tokens in the browser determines how exposed your application is to theft and hijacking. Even a perfectly validated ID token becomes a liability if you drop it into localStorage where any script on the page can read it. This step is one of the most commonly underestimated in healthcare app security reviews.
What to do
Store session state server-side wherever possible and keep only a session identifier in a secure, HttpOnly cookie on the client. Never place access tokens or ID tokens directly in localStorage or sessionStorage, regardless of how short their lifetime is.
Why it matters
Following openid connect best practices includes treating the browser as an untrusted environment. Cross-site scripting (XSS) attacks can extract anything stored in JavaScript-accessible storage, turning a single vulnerability into a full credential theft event that compromises protected health information.
Browser storage that JavaScript can read is storage an attacker can read too.
How to implement it
Set your session cookies with the HttpOnly and Secure flags to block JavaScript access and enforce HTTPS-only transmission. Add the SameSite=Strict attribute to protect against cross-site request forgery delivered through cookie channels. Validate your cookie configuration in every environment, not just production.
Common pitfalls to avoid
- Storing raw tokens in
localStorageinstead of using server-side sessions - Forgetting to apply
SameSiteandSecurecookie flags in non-production environments that later mirror production behavior
Quick checklist
- Session state held server-side with only a session ID in the cookie
- Cookies configured with
HttpOnly,Secure, andSameSite=Strict - No tokens stored in
localStorageorsessionStorage
6. Manage access and refresh tokens with tight lifecycles
Token lifecycle management is where many teams cut corners. Following openid connect best practices means treating access and refresh tokens as short-lived credentials that expire, rotate, and get revoked on a predictable schedule.
What to do
Set short expiration times on access tokens, typically 5 to 15 minutes for healthcare applications. Use refresh tokens to obtain new access tokens silently, and rotate refresh tokens on every use so each token is consumed exactly once.
Why it matters
Long-lived access tokens are stolen credentials waiting to happen. In a clinical environment, a leaked token carries patient-level data access that persists until expiration. Tight lifecycles limit the damage window when a token is compromised.
A token with a one-hour lifetime gives an attacker sixty times more exposure than one that expires in a minute.
How to implement it
Configure your IdP to enforce short exp values on access tokens and enable refresh token rotation in your authorization server settings. On each silent refresh, store the new refresh token immediately and discard the previous one. Implement token revocation so your application can invalidate tokens on logout or suspicious activity.
Common pitfalls to avoid
- Issuing refresh tokens without rotation, which allows a stolen token to work indefinitely
- Never calling the revocation endpoint on user logout
Quick checklist
- Access token lifetime set to 15 minutes or less
- Refresh token rotation enabled on every use
- Revocation endpoint called on logout
7. Keep scopes and claims minimal and trustworthy
Following openid connect best practices means requesting only the scopes your application actually needs and trusting only the claims your application can verify. Every additional scope you request expands the attack surface if a token is compromised.
What to do
Request the minimum set of scopes required for your application to function. In SMART on FHIR contexts, that means specific patient or user-level scopes tied to exact FHIR resource types, not broad access scopes that pull in data you never use.
Why it matters
Overly broad scopes create unnecessary data exposure when a token leaks. In clinical environments, a compromised token with wide scopes can expose entire patient records rather than just the fields your workflow requires. Limit scope to limit damage.
The scope you don't request is the data an attacker can never reach.
How to implement it
Define your required scopes explicitly in your OIDC client configuration and review them before each production deployment. Verify the claims returned in your ID token match only what your application declared, and reject responses that include unexpected or undeclared claims.
Common pitfalls to avoid
- Requesting
openid profile emailas a default without confirming which claims your application actually reads - Accepting undocumented claims from the IdP without any validation logic in place
Quick checklist
- Scopes limited to what your application actively uses
- Returned claims verified against declared scope
- Broad or default scopes removed from production configuration
What to do next
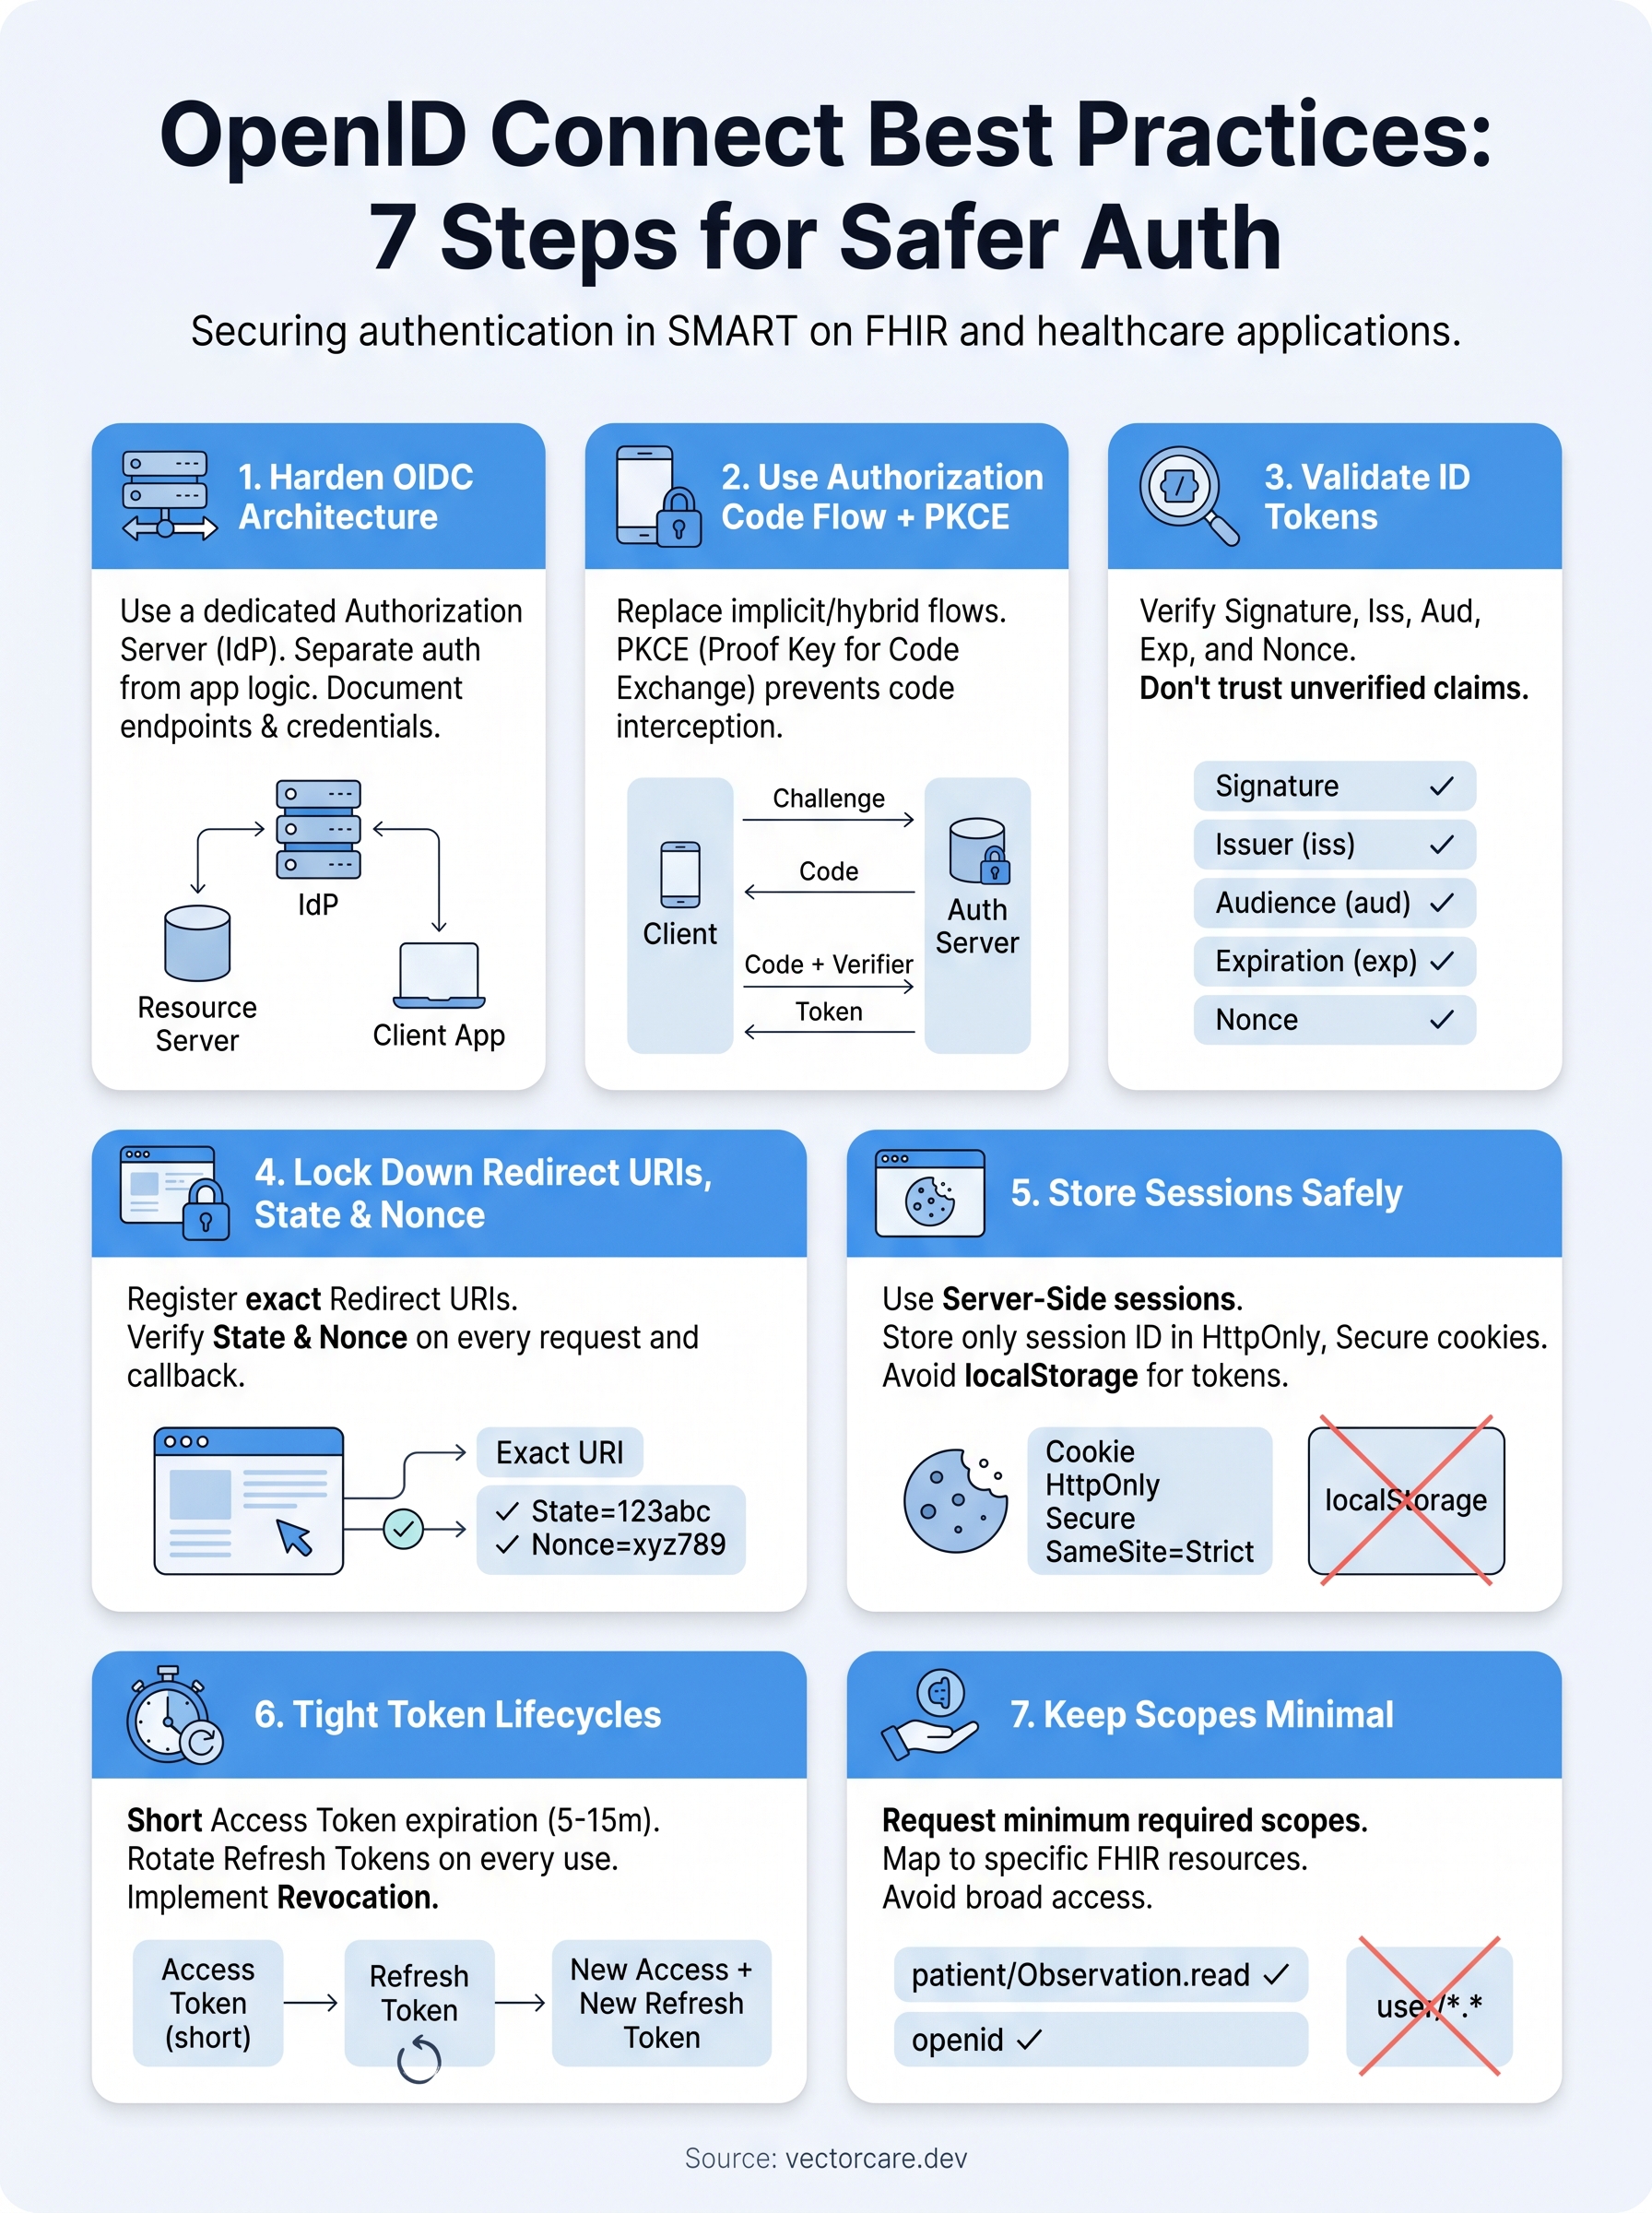
These seven openid connect best practices give you a concrete security baseline you can audit against today. Each step builds on the last: a solid architecture enables proper flow selection, which supports rigorous token validation, which makes lifecycle management meaningful. Skip one step and the others become weaker.
Your biggest risk right now is the gap between what your implementation does and what a health system security reviewer expects to see. In SMART on FHIR and EPIC environments, that gap can block production access entirely, costing months of rework.
If you want to close that gap faster, VectorCare Dev SoFaaS handles OIDC configuration, SMART on FHIR compliance, and EPIC App Orchard submission as part of its managed no-code platform. You focus on your core product, and the authentication layer ships correctly from day one. Start there.
The Future of Patient Logistics
Exploring the future of all things related to patient logistics, technology and how AI is going to re-shape the way we deliver care.
Thank you! Your submission has been received!
Oops! Something went wrong while submitting the form.