OpenID Connect UserInfo Endpoint: What It Is & How It Works

When a clinician launches a SMART on FHIR app from within EPIC, the app needs to know who just opened it. That's where the OpenID Connect UserInfo endpoint comes in. It's the standardized way your application retrieves profile information, name, email, role, about the authenticated user after they've completed the login flow. For healthcare vendors building EHR integrations, understanding this endpoint isn't optional; it's foundational to how your app identifies and responds to each user in a clinical session.
The UserInfo endpoint works alongside ID tokens, but it serves a different purpose, and mixing up the two is a common source of confusion. It accepts a bearer access token, returns a set of claims about the user, and operates over a simple HTTPS call. Straightforward in theory, but the details matter, especially when you're working within HIPAA-regulated environments where every data exchange needs to be locked down.
This article breaks down what the UserInfo endpoint is, how it works, what claims it returns, and how it differs from an ID token. At VectorCare, we handle the OIDC and SMART on FHIR authentication layer for healthcare vendors building EPIC integrations through our no-code platform, so none of this requires your team to write authentication code from scratch. But whether you're building it yourself or using a managed solution, understanding the mechanics helps you make better architectural decisions.
What the UserInfo endpoint returns
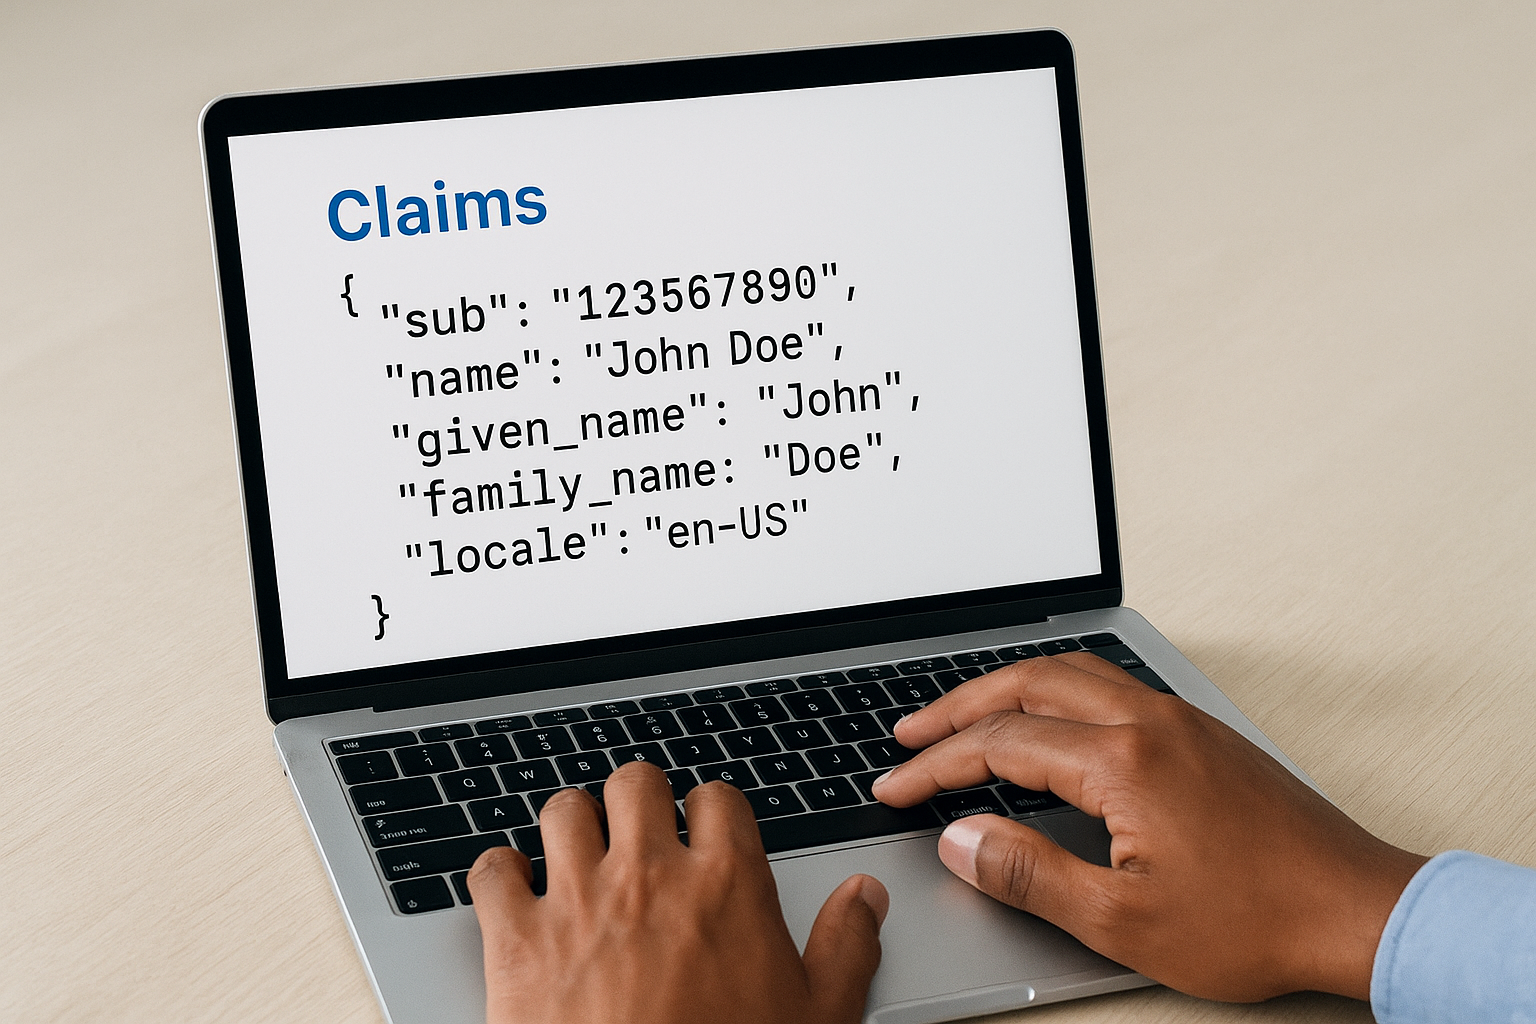
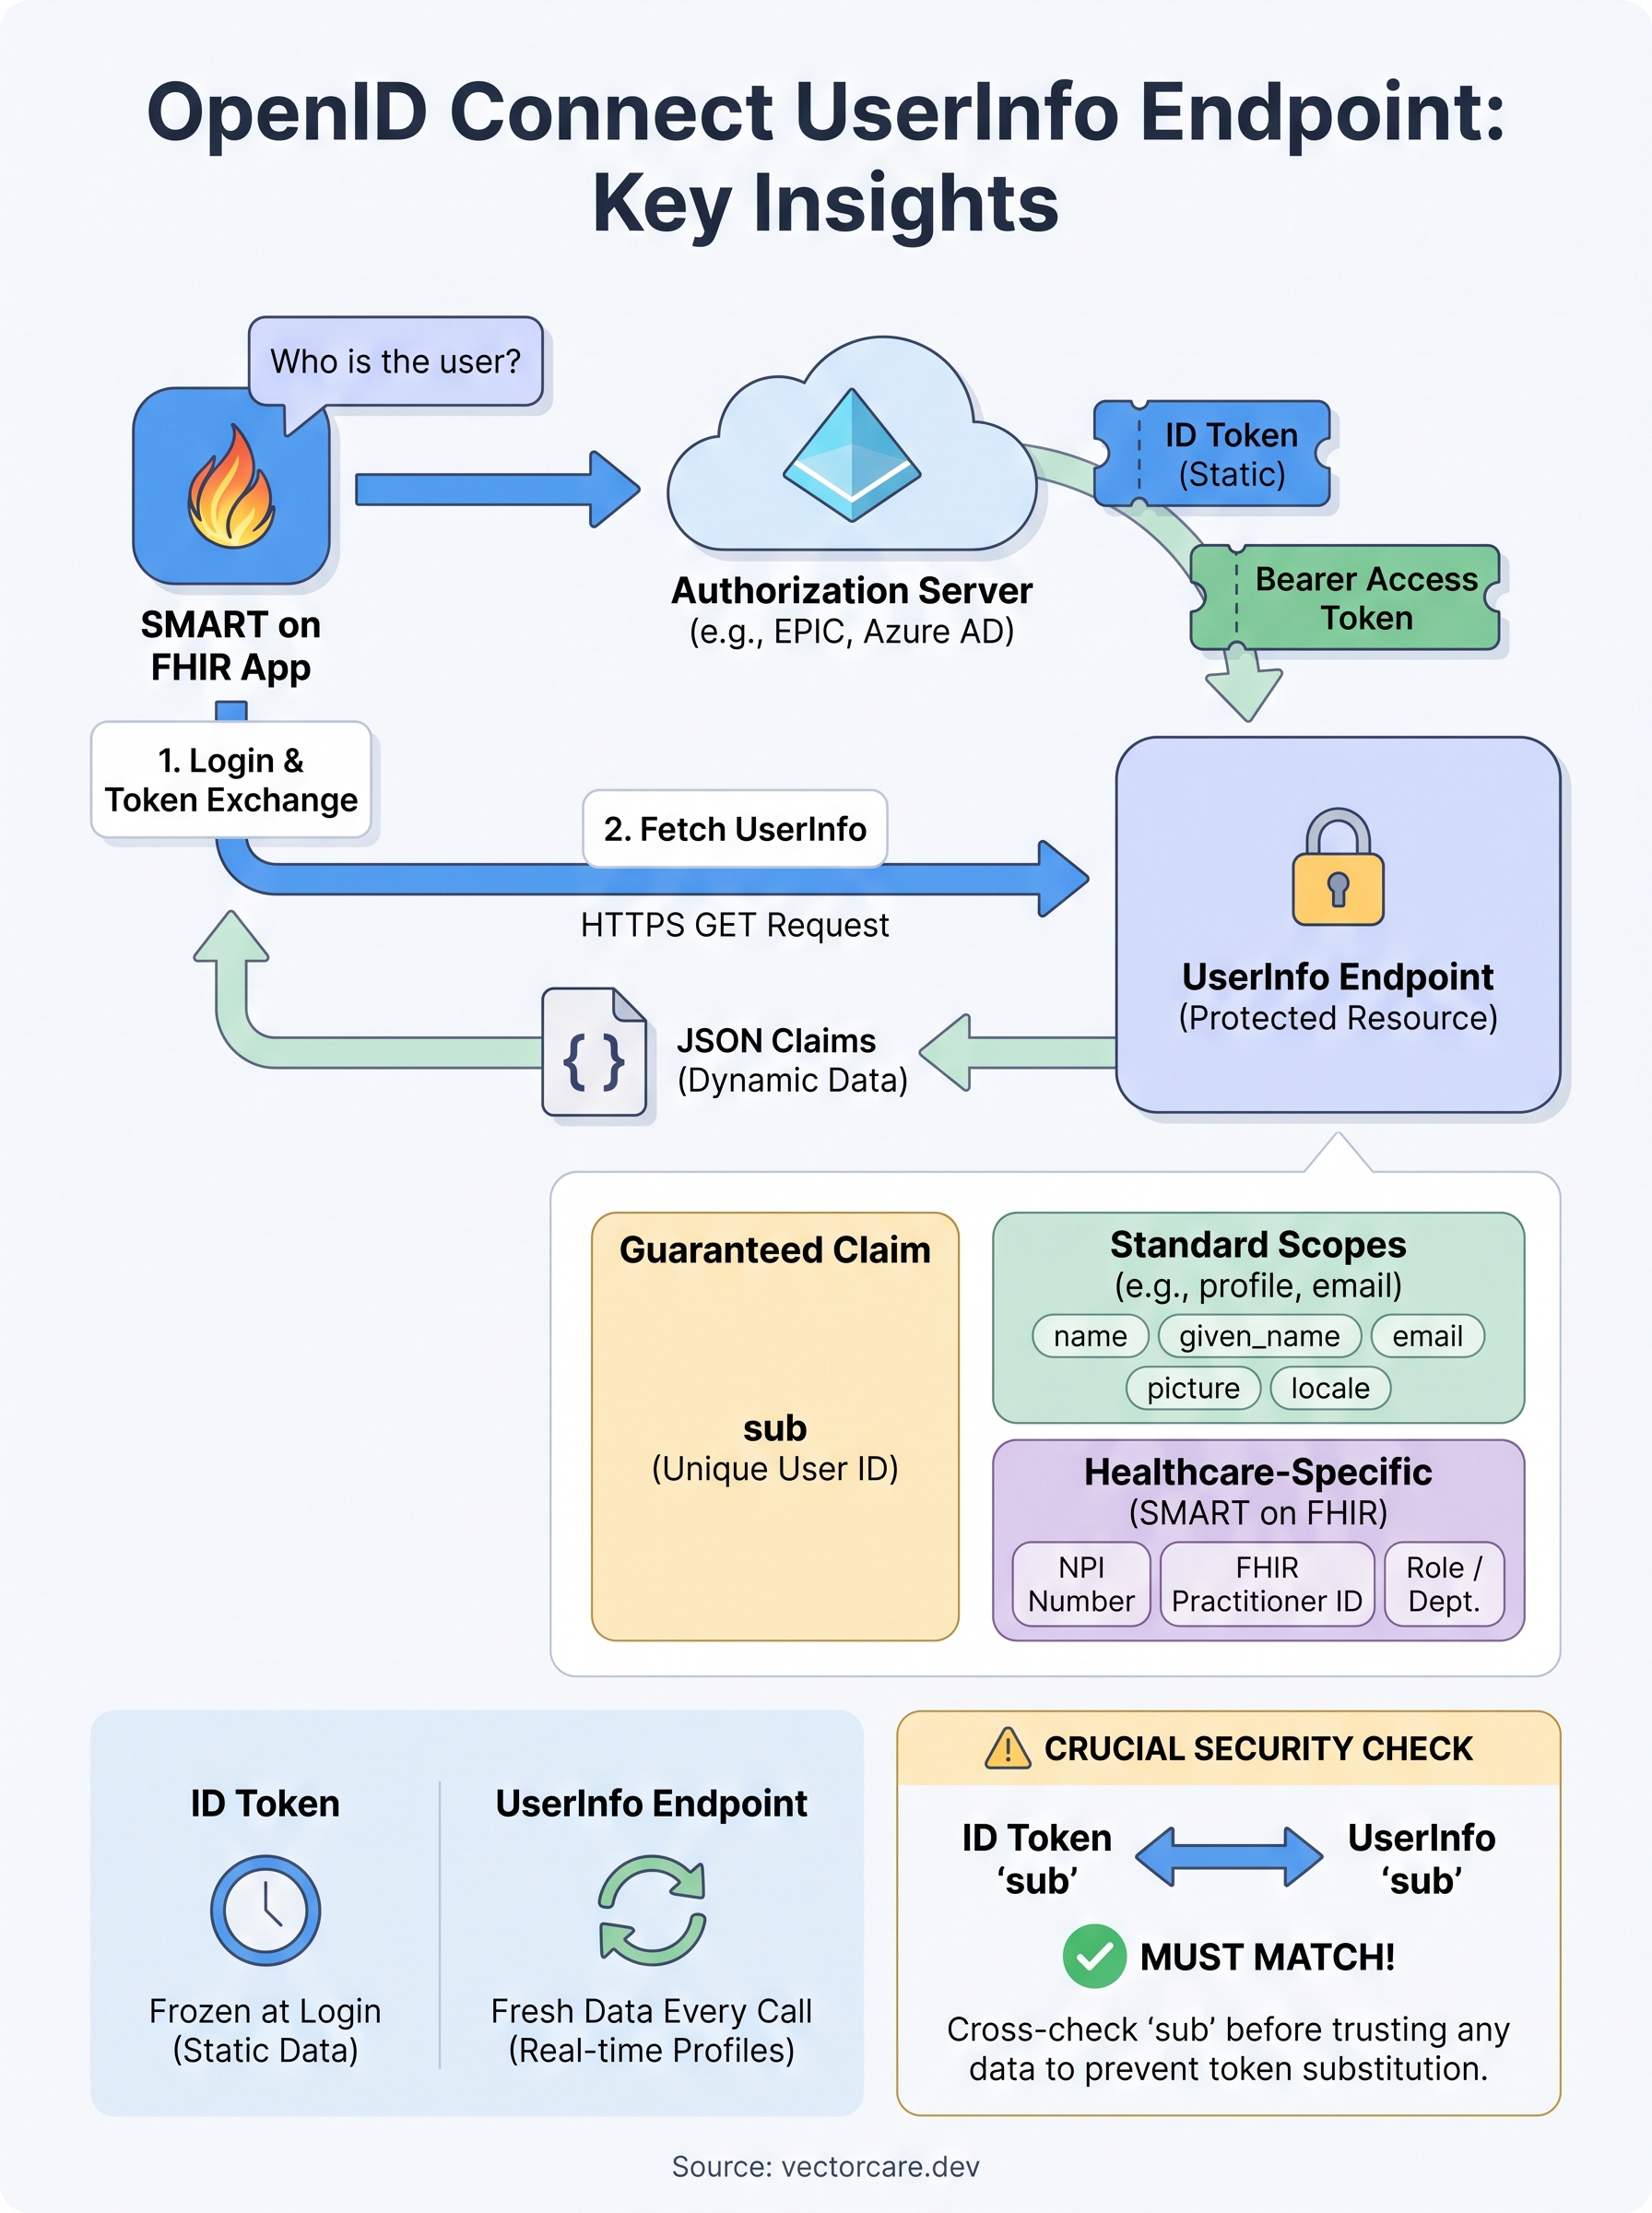
The openid connect userinfo endpoint returns a JSON object containing claims, which are key-value pairs that describe the authenticated user. The specific claims your application receives depend on the scopes your app requested during the authorization step. At minimum, every response includes a sub claim, which is a unique, opaque identifier for the user. That sub value becomes the stable anchor you tie all user-specific data to across sessions, regardless of what else changes in the response.
The
subclaim is the only claim guaranteed to appear in every UserInfo response, no matter which scopes your application requested.
Standard OIDC claims
The OpenID Connect specification defines a standard set of claims organized around predictable scopes. When your app requests the profile scope, the endpoint can return claims like name, given_name, family_name, picture, and locale. Requesting the email scope adds email and email_verified to the response. These standard claims give you a consistent, interoperable set of user attributes that behave the same way across any specification-compliant identity provider.
| Scope Requested | Example Claims Returned |
|---|---|
openid |
sub |
profile |
name, given_name, family_name, locale |
email |
email, email_verified |
phone |
phone_number, phone_number_verified |
Healthcare-specific and custom claims
SMART on FHIR adds a clinical layer on top of standard OIDC. When your app integrates with EPIC, the authorization server can return custom claims tied to the clinical context, such as the user's FHIR practitioner resource ID, NPI number, or department assignment. Your application uses these to load the correct patient lists, filter content by care setting, or enforce role-based access controls within the EHR session. These custom claims do not appear automatically; you need to request the appropriate scopes and verify with the EHR vendor exactly which custom claims their authorization server exposes.
Why the UserInfo endpoint matters
The openid connect userinfo endpoint solves a real problem: your application needs verified identity data, but the access token only tells the authorization server what the user can do, not who they are. Fetching user claims separately keeps identity and authorization concerns cleanly separated, which makes your app easier to audit. In healthcare settings, that separation directly supports the kind of access logging HIPAA requires.
Separating identity claims from authorization tokens reduces the risk of embedding sensitive user data in tokens that pass through intermediary systems.
Real-time claims vs. a frozen token
Unlike the ID token, which is issued once at login and stays frozen, the UserInfo endpoint gives you current profile data every time you call it. If a user's role or department changes in the identity provider after they first authenticated, your app picks up the updated claims on the next request. For clinical workflows where staff rotations happen regularly, that freshness matters.
Your app also benefits from interoperability across identity providers since the endpoint follows the OpenID Connect specification. The same call structure works whether you target EPIC's authorization server, Azure AD, or any other compliant system, so your application doesn't need provider-specific logic just to retrieve basic profile claims.
How it fits into an OIDC login flow
The OpenID Connect login flow runs in a specific sequence, and the UserInfo endpoint sits at the end of it. Your app first redirects the user to the authorization server, which authenticates them and returns an authorization code. Your backend exchanges that code for an access token and an ID token. At that point, your app has proof of authentication, but not necessarily the full profile data it needs to function.
Where the UserInfo call happens
After your app receives the access token, it makes a separate HTTPS request to the openid connect userinfo endpoint using that token as a bearer credential. This call happens after the token exchange is complete, not during it. The authorization server validates the token, then returns the claims your app requested. Think of the flow as three discrete steps: redirect, exchange, then fetch.
The UserInfo endpoint call is always a separate request that happens after the token exchange, never during it.
Why the sequence matters for EHR integrations
In EPIC SMART on FHIR launches, the sequence is especially strict. The launch context delivers a scoped access token tied to a specific patient and session. Your app uses that same token to call the UserInfo endpoint and retrieve practitioner-level claims like role and department before rendering any clinical content. Getting this order wrong causes authentication failures that are difficult to debug inside a live EHR session.
How to call the UserInfo endpoint
Calling the openid connect userinfo endpoint requires two inputs: the endpoint URL and a valid access token. You discover the endpoint URL from the authorization server's discovery document, a JSON file served at /.well-known/openid-configuration. That document includes a userinfo_endpoint field that points your app to the correct address before it makes any requests.
Constructing the request
Your app sends an HTTP GET request to the UserInfo endpoint and places the access token in the Authorization header using the Bearer scheme:
GET /userinfo HTTP/1.1
Host: authorization-server.example.com
Authorization: Bearer <access_token>
Some servers accept the token as a POST body parameter, but the header method is the recommended approach and the one most EPIC-compliant authorization servers require.
Handling the response
The server returns a JSON object containing the user's claims. Before your app does anything with those claims, validate that the sub value in the UserInfo response matches the sub in the ID token from your earlier token exchange.
Always cross-check the
subclaim between the UserInfo response and the ID token before trusting any returned data.
If the values differ, discard the entire response immediately. A mismatch signals a possible token substitution problem, not a minor data inconsistency your app can safely ignore.
Security, privacy, and common errors
The openid connect userinfo endpoint sits inside a protected context, so every mistake your app makes here carries real risk. Two failure patterns appear most often: sending an expired or revoked access token and calling the endpoint over HTTP rather than HTTPS. Both are straightforward to prevent, but both show up regularly in integration audits.
Protect tokens and limit scope
Your app should never log the raw access token used to call the UserInfo endpoint. Tokens written to application logs become a persistent attack surface, especially in shared cloud environments. Request only the scopes your application genuinely needs, because every unnecessary claim you return is additional PHI in motion under HIPAA.
Requesting unnecessary scopes expands your compliance surface without adding any functional benefit to your application.
Rotate credentials and validate token expiry before each UserInfo call rather than assuming the token issued at login is still valid by the time your app needs it.
Handle errors correctly
When the authorization server returns a 401 Unauthorized response, your app must treat the token as invalid and restart the authentication flow entirely. A 403 Forbidden response means the token is valid but lacks the required scope, pointing to a configuration problem rather than an expired credential.
Confusing these two codes leads to incorrect retry logic that breaks the user session inside live clinical workflows and forces clinicians to re-authenticate mid-task.
Key takeaways
The openid connect userinfo endpoint is a protected HTTPS resource that returns JSON claims about the authenticated user after your app completes the token exchange. It always includes the sub claim, expands based on requested scopes, and delivers fresher data than a static ID token. Cross-checking the sub value between the UserInfo response and your ID token is non-negotiable before your app acts on any returned data.
Your implementation decisions here carry real weight in HIPAA-regulated clinical environments. Request only the scopes you need, never log raw tokens, and handle 401 and 403 responses with separate retry logic. Getting these details right keeps your app stable and your compliance posture clean.
For healthcare vendors building EPIC integrations, handling OIDC authentication and SMART on FHIR compliance without writing authentication code from scratch is exactly what VectorCare's no-code platform is built for.
The Future of Patient Logistics
Exploring the future of all things related to patient logistics, technology and how AI is going to re-shape the way we deliver care.
Thank you! Your submission has been received!
Oops! Something went wrong while submitting the form.